
Cold foil defects include pinholes, incomplete transfer, shadow images, wrinkles, dirty edges and loss of adhesion. Start diagnosis by recording the visible pattern and the first operation where it appears. Similar-looking defects can have different causes, so use the sample and process record to choose a test rather than immediately increasing adhesive, pressure or curing output.
This guide provides a symptom map and a proposed investigation workflow. Its illustrations show defect patterns, not verified customer trials or proof of a particular cause.
¿Cómo diagnostico defectos del cold foil por síntoma?
Compare the affected print with the approved sample under consistent lighting. Record whether the defect is random, regularly repeated, confined to a band, or first visible after overprinting or finishing. Keep the substrate, adhesive, foil and job identifiers with the samples so a material change is not mistaken for a press-setting change.
Then identify the process. FAQ de KURZ sobre bobinas describes a UV adhesive and carrier-removal workflow; its sheet-fed FAQ describes a distinct adhesive-image and blanket/impression-cylinder arrangement. Diagnose the configuration actually in use. A flexo-anilox adjustment is not an offset-press instruction.
Stop and isolate equipment according to site procedures before hands-on inspection or cleaning. Keep guards in place; changes involving chemicals, UV equipment or surface-treatment systems require trained personnel following the relevant instructions.
Cold foil defect diagnosis matrix
Use these observations to select checks, not to declare a root cause from appearance alone. The matrix is a proposed triage tool, not a production specification or a report of measured CFS results.
| Síntoma | Pattern to record | Posibilidades a investigar | First useful check |
|---|---|---|---|
| Puntos de pinhole | Small gaps within a metallic solid | Contamination, uneven adhesive delivery, surface or transfer mismatch | Compare gap locations with the adhesive image and retained stock |
| Fantasma | Unwanted shadow or duplicate image | Image formation, carryover, contact or handling disturbance | Locate the earliest operation showing the shadow |
| Transferencia incompleta | Larger missing areas or broken coverage | Adhesive image, material matching, contact or processing window | Compare affected and clean areas against the approved setup |
| Adhesión deficiente o descamación | Decoration lifts during an agreed check or handling | Transfer bond, substrate, adhesive or downstream compatibility | Identify the detached layer and the first failed operation |
| Arrugas o pliegues | Directional folds or crushed streaks | Incoming roll condition, alignment, support or tension | Find the first span where the crease appears |
| Polvo de foil o bordes sucios | Loose particles or ragged boundaries | Contamination, cutting/handling damage or transfer-edge behavior | Inspect collected debris and incoming edges without assuming its origin |
| Desviación de registro | Foil image moves relative to printed artwork | Image-position or transport instability | Compare registration marks across startup and stable running |
| Filled fine text | Small gaps close or edges spread | Adhesive image, metering, impression or artwork | Compare fine detail before and after transfer |
| Uneven metallic appearance | Stable bands of different brightness | Material surface, adhesive delivery or contact variation | Inspect coverage as well as reflection in the affected band |
| Lifting after overprint | Damage begins after ink, coating or converting | Layer compatibility, handling or finished-construction bond | Compare retained samples from either side of that operation |
| Puntos faltantes aleatorios | Isolated gaps without a clear repeat | Contamination or local surface/transfer disturbance | Compare the stock and cleaning record with the affected sample |
| Halo de borde | Unwanted fringe beyond the intended image | Adhesive spread, image definition or transfer/release behavior | Locate the fringe in the adhesive image or transferred decoration |
| Scratches or scuffing | Directional marks appearing downstream | Contact damage or inadequate finished-product protection | Find the first damaging contact or operation |
| Suspected cure-related failure | Tacky, weak or brittle areas | Material mismatch or an unsuitable processing window | Review compatible measurements and specified performance checks |
| Efecto metálico moteado | Cloudy or blotchy reflection | Surface, wetting, laydown or finish variation | Check whether coverage is missing or only appearance differs |
| Poor transfer on film | Patchy coverage on a film label | Surface condition, contamination or material matching | Check the actual film grade and agreed surface/adhesion tests |
Illustrated defect examples: what to look for
—Pinholes and incomplete transfer
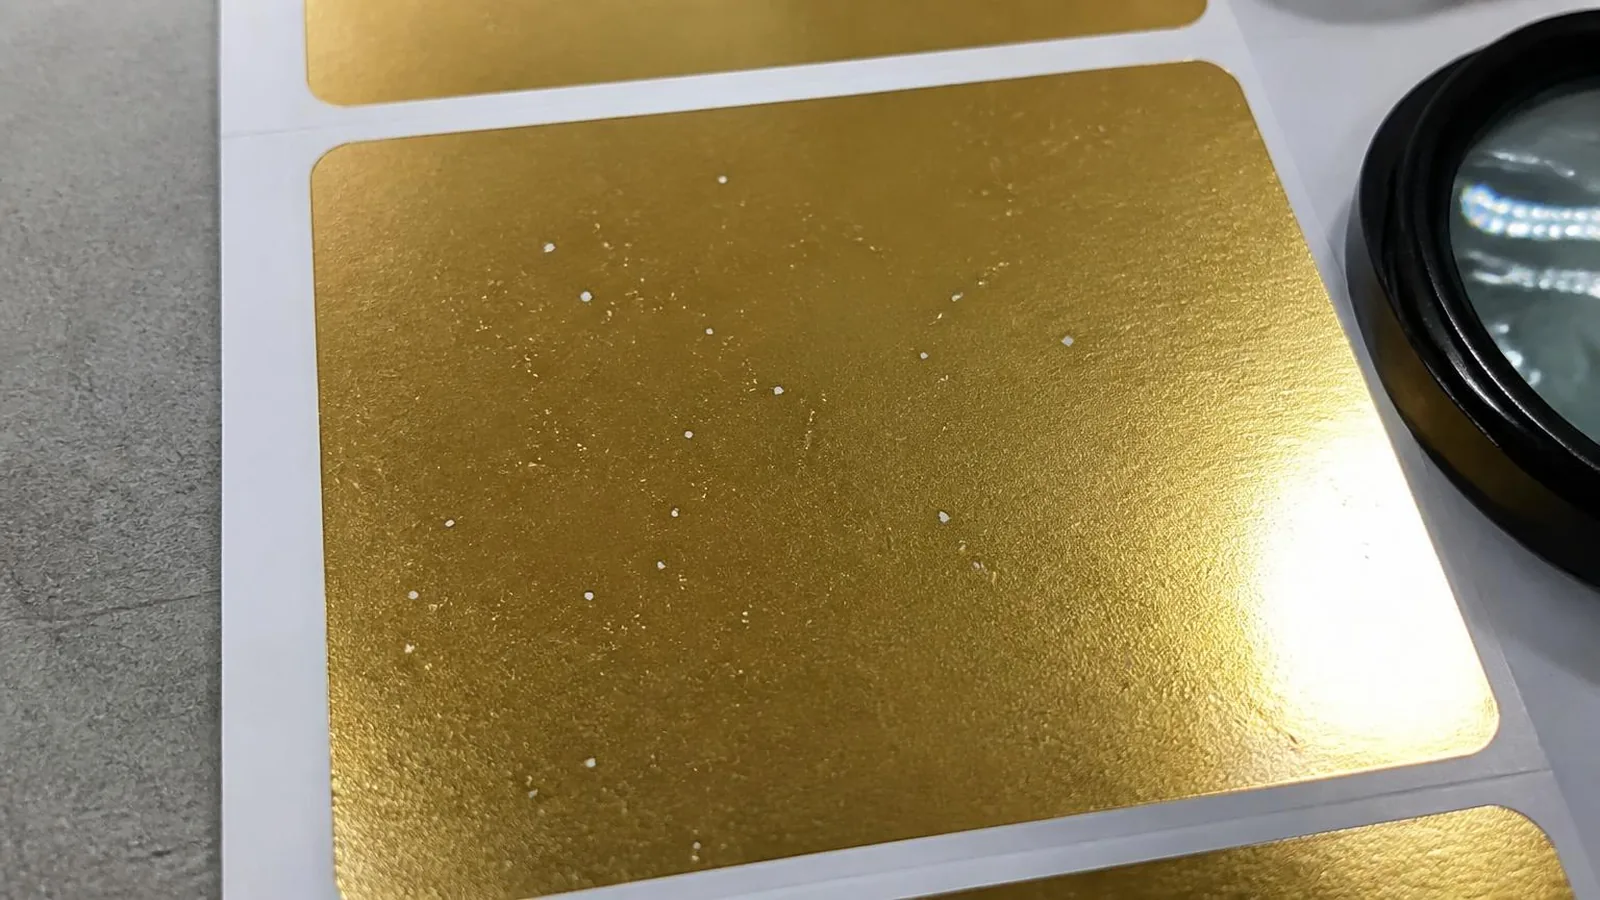
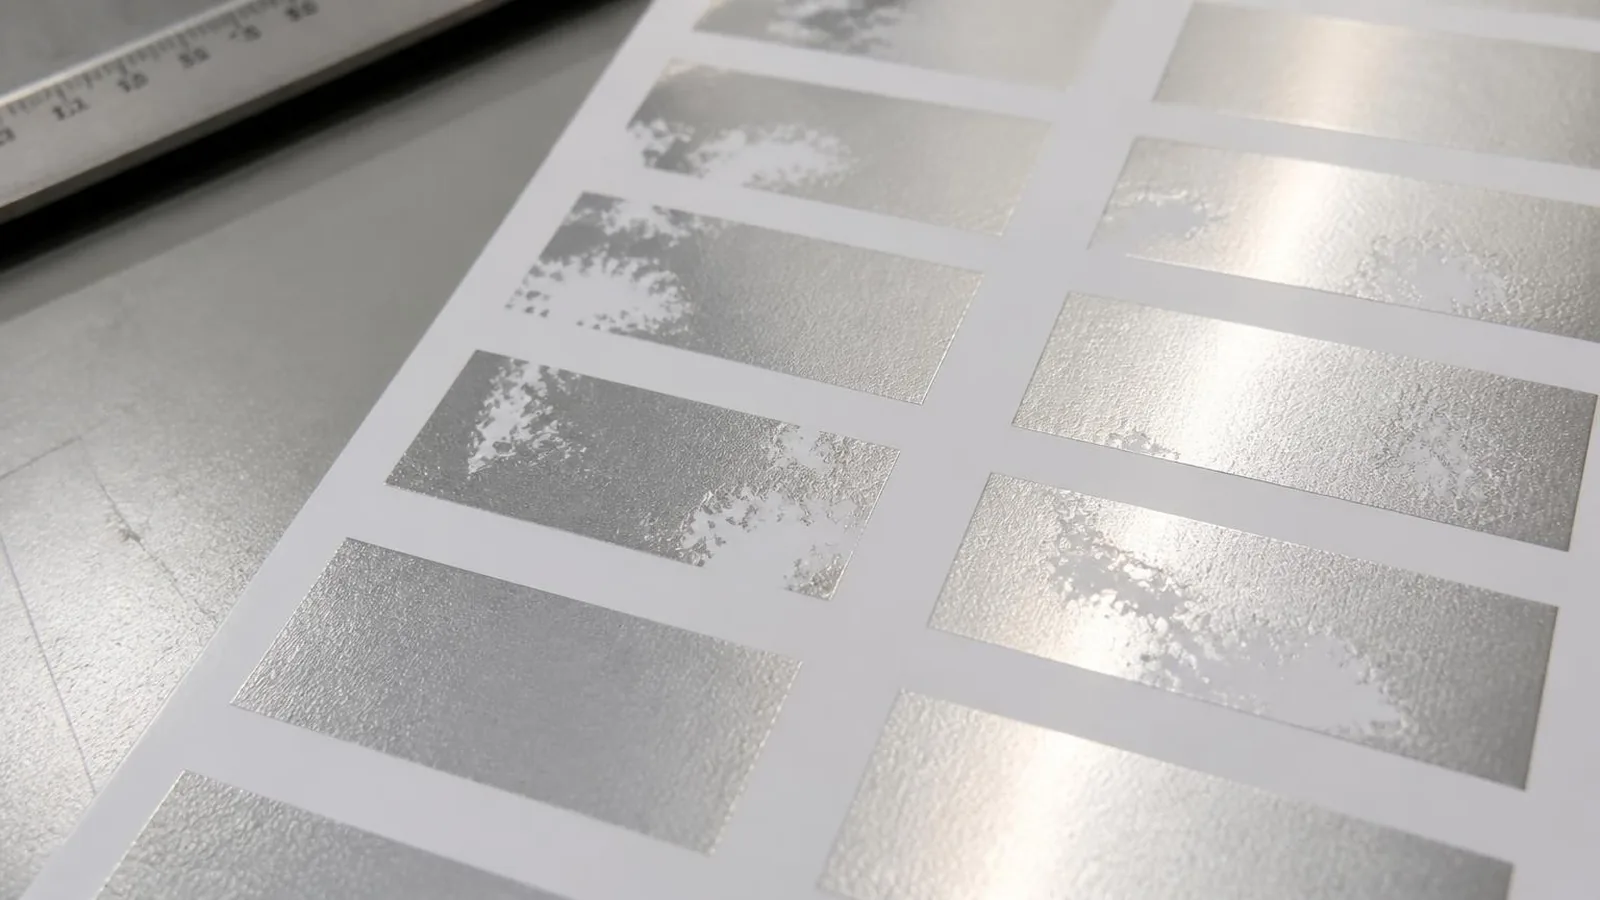
Small isolated gaps and broad missing patches are different patterns worth recording. Examine the same artwork region under magnification and compare it with the adhesive image. Do not compensate for possible contamination by immediately choosing a higher-volume anilox. For the detailed branch, use the pinholes and ghosting diagnosis guide.
—Ghosting and edge definition

Record whether a secondary image follows the artwork or repeats at a consistent interval. That spacing is a clue to compare with the machine layout, not proof that a particular cylinder is faulty. Check both solid coverage and fine edges: filling a solid while closing small text is not a successful correction.
—Adhesion failure
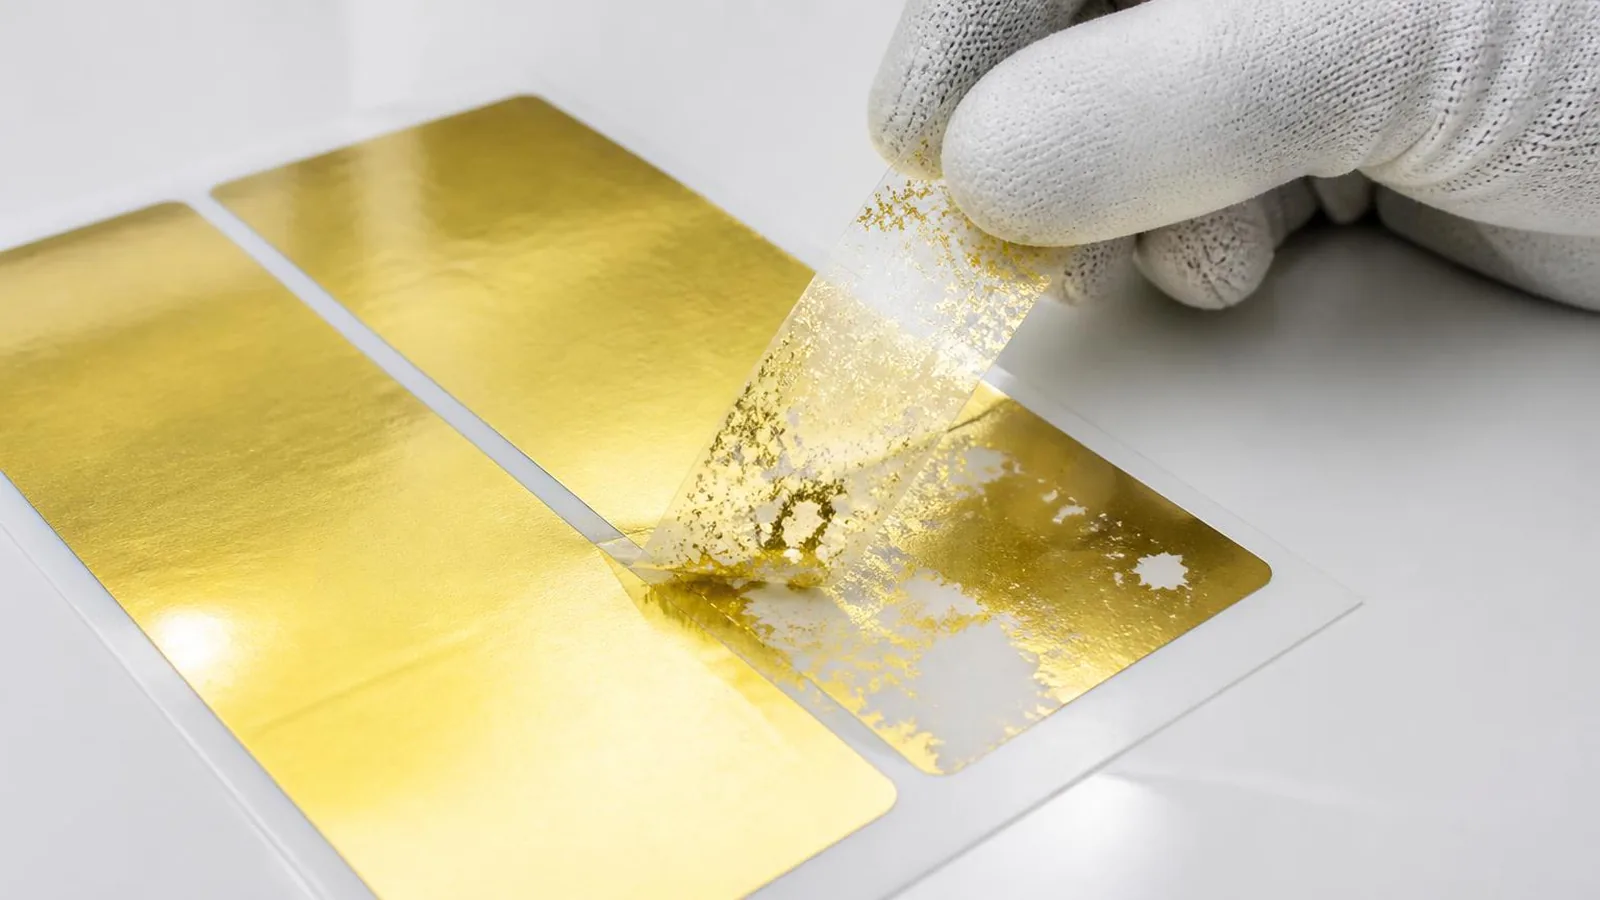
Look at what detached and what remains on the stock. Ink lifting while decoration stays attached needs a different investigation from decoration and ink lifting together. Apply the agreed method, timing and acceptance criteria; a photograph of tape removal alone does not establish a standardized test pass or failure.
—Wrinkles and registration drift
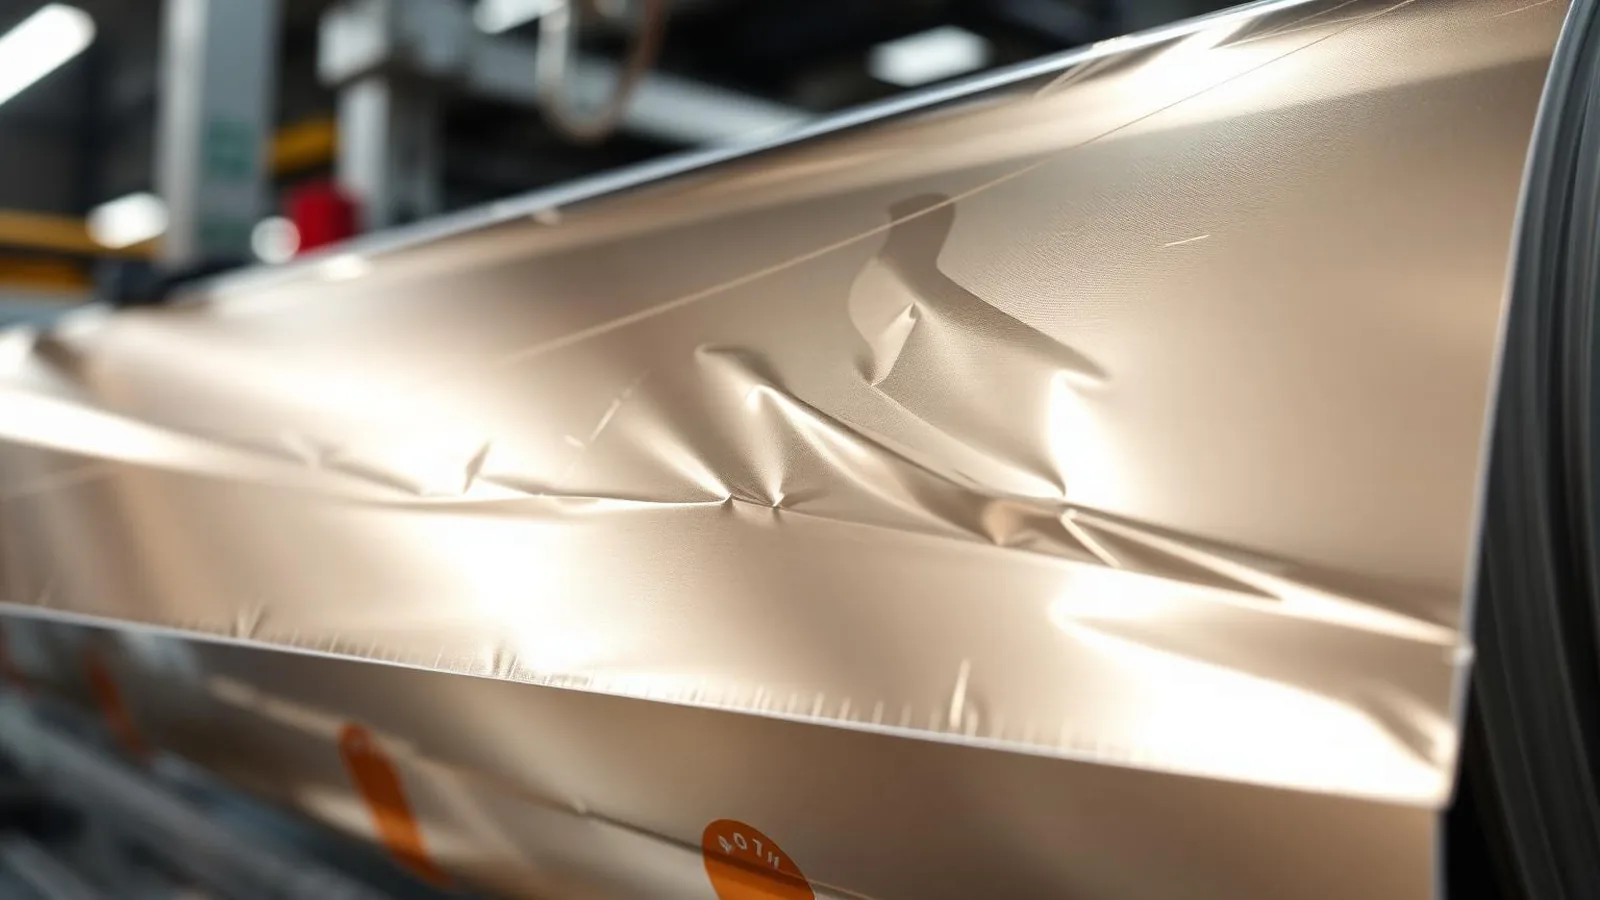
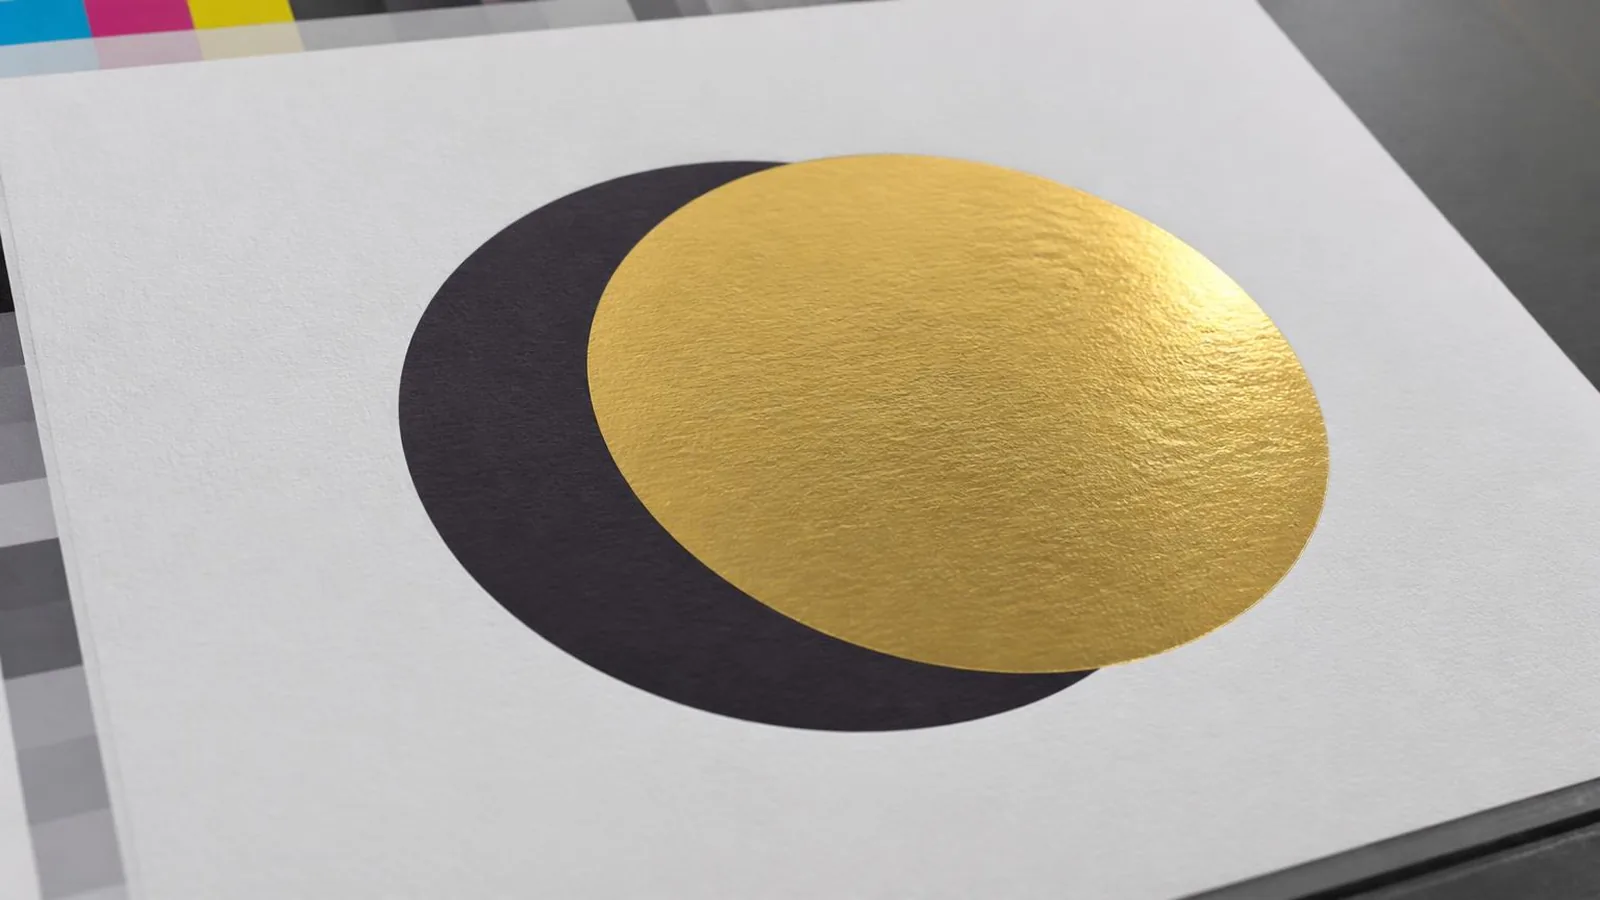
Observe the substrate web and foil carrier separately, using safe inspection points. Maxcess's web-wrinkling guide identifies alignment, roller geometry, support and tension as interacting considerations. A crease is not an instruction to lower tension automatically. For registration, compare the foil image with the ink image and reference marks.
—Dust, rough edges and scratches
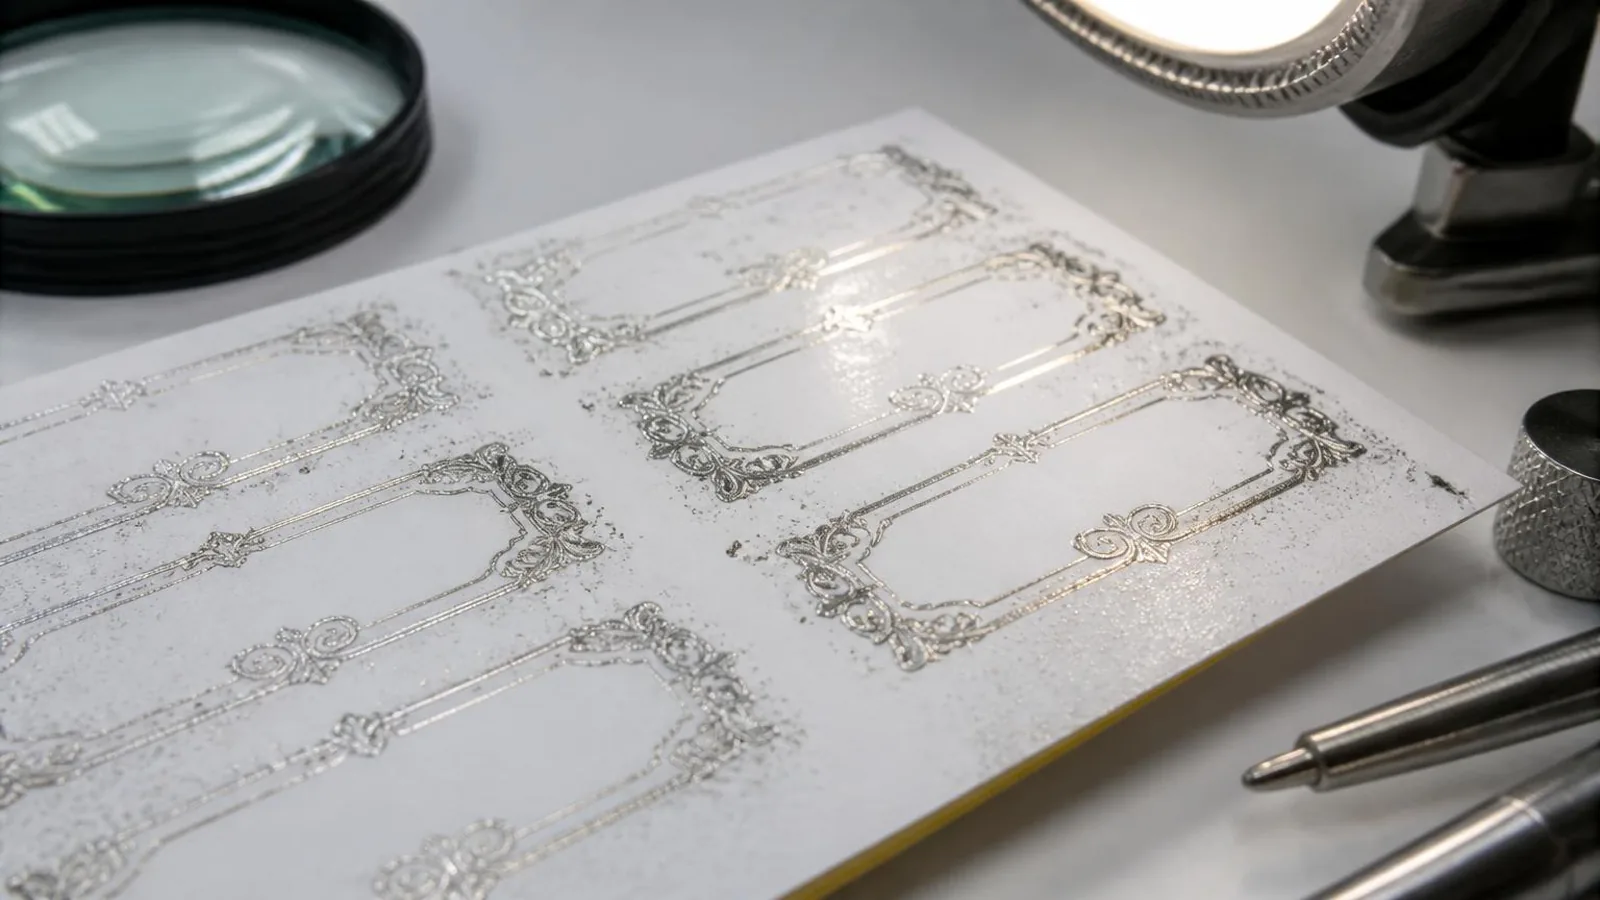
Inspect the debris and the first operation where it appears. Metallic-looking particles do not by themselves identify a slitting defect. Guía de conversión de etiquetas de Meech explains how static can attract contamination to a web. Investigate that possibility without assuming every dirty edge is a static problem.
—Weak transfer on BOPP or other film
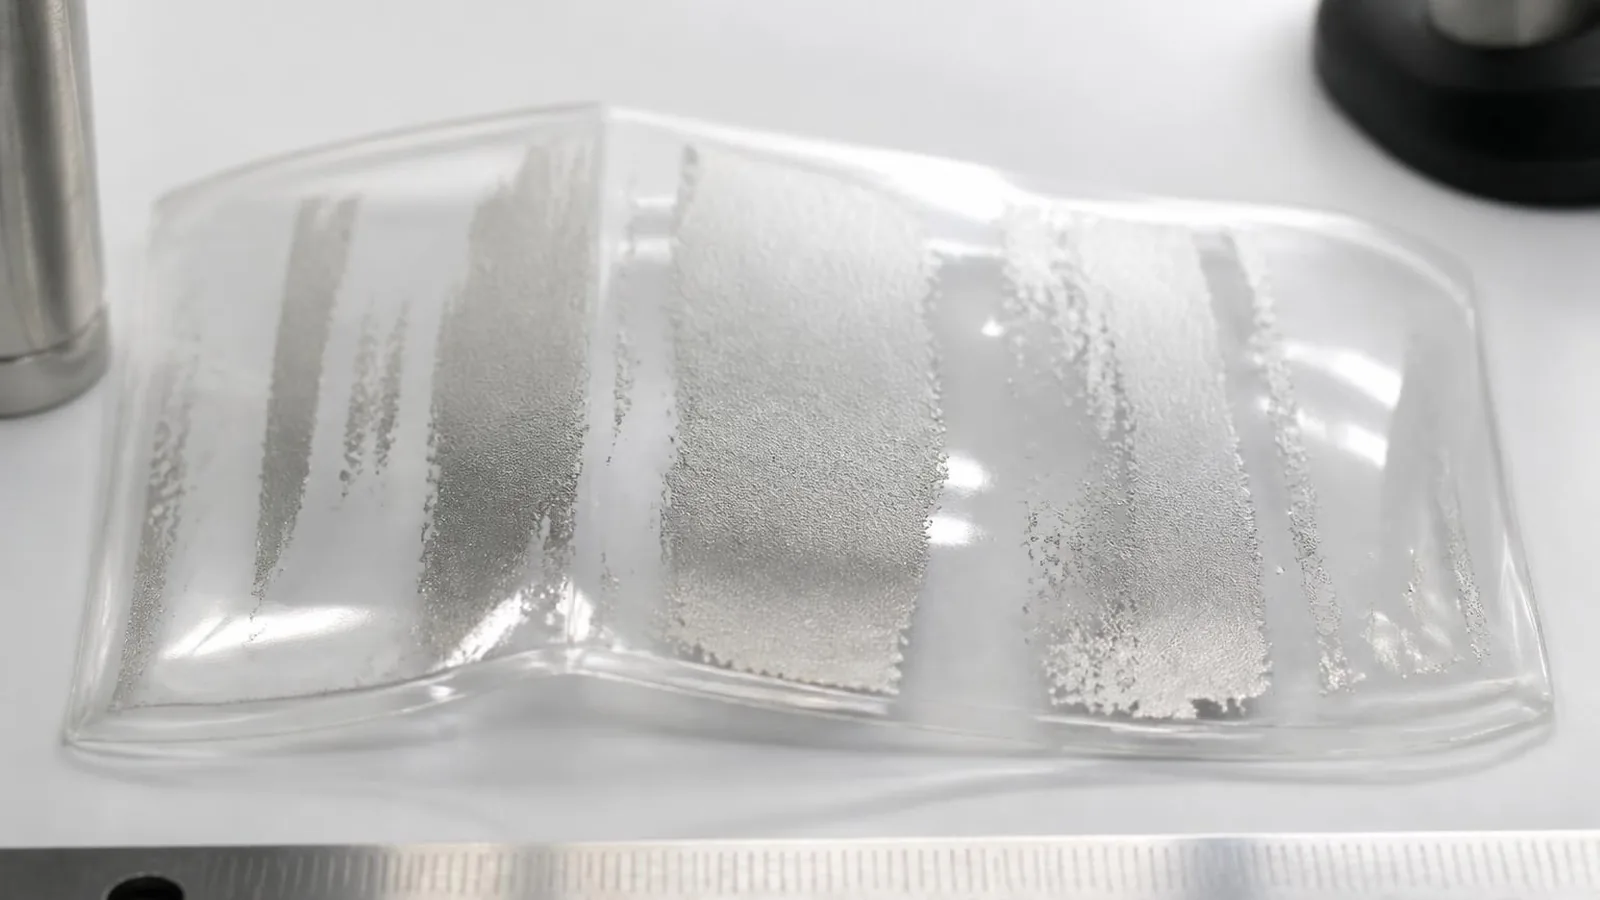
Confirm the grade, treated side and condition of the film at use. Enercon's dyne-testing guidance explains why a dyne result does not guarantee adhesion. Use the substrate and adhesive suppliers' acceptance criteria alongside the required bond checks; there is no universal treatment target supplied here.
Check adhesive delivery and curing on the actual process
In flexo, establish whether the plate and metering system are delivering the intended adhesive image. Orientación sobre la gestión de anilox de Harper distinguishes plugged, worn and damaged cells and discusses inspection before and after approved cleaning. The nominal engraving specification does not establish current condition.
In sheet-fed offset, examine the relevant adhesive-image and transfer settings. Orientación sobre la fijación de adhesivos de Eagle Systems describes finding a job-specific working window. Its machine example is not a universal flexo coat-weight or BCM recommendation.
For a UV system, record the source type, operating condition, instrument and spectral response with irradiance and energy-density readings where applicable. EIT's measurement guidance explains the limitations of using an instrument with a mismatched source spectrum. Lamp hours or a power percentage are not substitutes for appropriate measurement and the adhesive supplier's specified cure/performance checks.
Utilice el adhesive selection guide for compatibility questions. Improvement at a lower speed is useful evidence about a changed running condition, but it does not isolate curing as the cause.
Separate transfer defects from overprint and finishing damage
Retain samples after transfer, after color overprint and after the finish or converting operation. Compare them using the same inspection conditions. A defect first introduced downstream should not automatically trigger changes at the foil station.
For offset overprint piling, inspect the blanket and retained print. ITW's cold-foil guidance identifies foil-to-blanket sticking as an overprinting consideration. That is distinct from a wrinkle in the incoming carrier.
A change in shine is also different from missing decoration. ITW's finishing FAQ discusses how coatings affect metallic appearance and protection. Check actual coverage and damage before treating a matte appearance as failed transfer. The CMYK over cold foil article covers approval of the ink/foil/finish combination; the adhesion-test guide helps organize agreed bond checks.
Re-test one documented hypothesis at a time
Retain the baseline and write down the suspected cause before changing the setup. Make a controlled adjustment within approved limits, compare the same artwork area and record any newly introduced defect. If replacing a component changes several properties, record those differences rather than claiming a single property was isolated.
Recheck at the intended production condition and after the relevant finishing and conditioning steps. Agree appearance and durability requirements before releasing the job. Keep the accepted sample, settings and decision together; the lista de verificación de configuración de prensa supports that baseline.
What should you send for a defect review?
Send an overview and a scaled close-up, marking machine direction and the affected region. Include the approved sample when available. This proposed record helps make the investigation specific:
- Job/artwork revision, symptom, pattern and first failed operation.
- Process and press; substrate grade, lot and surface information.
- Foil grade, roll identification, adhesive grade and batch.
- Relevant plate, anilox or blanket identification; recorded contact and transport conditions.
- Running speed and applicable curing/drying measurements, with instrument details.
- Ink, coating and converting sequence; test method, timing and acceptance criteria.
- Recent changes, the trial adjustment and the result, including defects that did not improve.
Involve the supplier early if incoming material looks damaged or the pattern follows a suspect roll or lot. Preserve its identification and samples rather than consuming it through unrelated adjustments. Contact CFS with the record, or request trial samples when evaluating a suitable alternative. Each proposed grade needs its own approved processing conditions; a sample from another setup does not qualify your production run.
Preguntas frecuentes preguntas
Can the foil itself cause a defect? +
The foil belongs in the investigation alongside the substrate, adhesive, equipment and finishing. A controlled comparison with a suitable approved roll can help, but rethreading and setup changes can influence the result. Do not treat a successful swap alone as conclusive proof.
Does brittle decoration prove excessive UV exposure? +
No. Appearance alone does not establish that diagnosis. Check the material system, operating history, appropriate measurements and specified performance tests with the suppliers before adjusting exposure.
Is there a universal acceptable pinhole size? +
This guide does not provide one. The buyer and converter should agree allowable defects, location, inspection conditions and end-use requirements for the specific job. Passing an adhesion check does not automatically waive appearance criteria.