Before a cold foil job goes into production, converters should verify the substrate, UV adhesive, anilox specification, foil roll condition, web tension, UV cure and first-run transfer quality. This checklist helps press teams catch common setup problems before they become waste, delays or failed customer proofs.
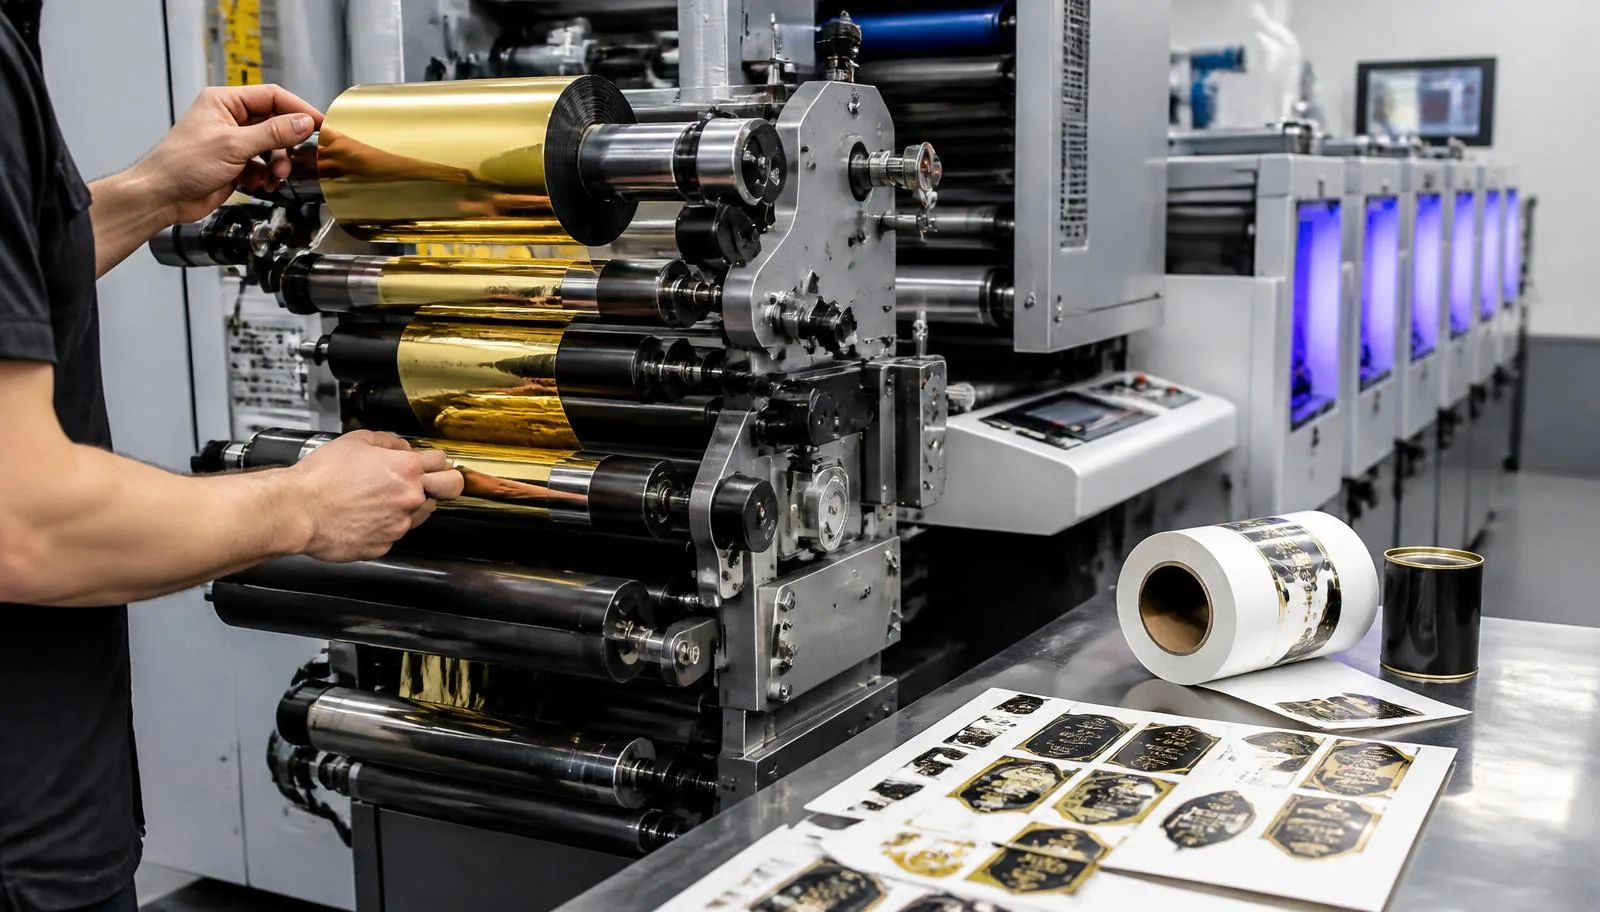
Quick technical answer
Before a cold foil job runs saleable product, confirm the substrate grade and surface treatment, the UV adhesive and its laydown, the anilox or plate specification, foil roll condition and unwind direction, web tension and nip pressure, measured UV cure at production speed, registration, and a first-run rub and adhesion test. Every one of these is job-specific: a setup that works on coated board rarely transfers unchanged to filmic labelstock, so validate on the exact production stock.
What should be checked before cold foil production?
Before cold foil production, check substrate surface energy, UV adhesive compatibility, anilox volume, foil roll width and unwind direction, web tension, nip pressure, UV curing energy, registration, first-run transfer quality and adhesion. A short press trial should confirm clean transfer, no pinholes, no ghosting, no wrinkles and acceptable rub resistance.
If you are new to the process itself, read the cold foil stamping process step by step first, then use the table below as the pre-production sign-off sheet.
Press setup checklist table
Caption: Cold foil press setup checkpoints, pass conditions and first corrective actions
| Checkpoint | What to inspect | Why it matters | Pass condition | Recommended first action / when to stop and retest |
|---|---|---|---|---|
| Substrate surface | Grade, coating, corona level, varnish and ink compatibility | Surface energy and absorbency drive transfer and anchorage | Matches the approved substrate used in trials | Re-test on the exact production stock before scheduling |
| UV cold foil adhesive | Grade, batch, viscosity and open time | Adhesive laydown controls transfer sharpness | Within the adhesive supplier's recommended range | Confirm the grade with your adhesive, foil and press supplier |
| Anilox roller | Volume, cell condition, cleanliness, screen count | Under- or over-transfer of adhesive causes voids or squeeze-out | Clean cells, volume matching the approved setup | Clean or swap the roll and repeat the transfer test |
| Foil roll width and slit quality | Width against image area, clean slit edges | Poor edges shed dust and cause web breaks | Straight, dust-free edges with correct width | Reject the roll and quarantine the batch |
| Foil unwind direction | Coated side facing the substrate | Reversed unwind gives zero or partial release | Matches the roll label and press threading diagram | Re-thread before running further material |
| Foil tension | Unwind, nip and rewind tension balance | Uneven tension causes wrinkles and registration drift | Stable readings at target speed | Reduce speed and rebalance tension zones |
| Nip pressure | Even pressure across the web width | Uneven nip gives partial or patchy release | Uniform transfer edge to edge | Re-set the nip and re-run a short test |
| UV lamp condition | Hours logged, reflector and quartz cleanliness | Aged lamps cut cure energy without warning | Lamps within logged service life | Clean or replace and re-verify cure |
| Curing energy | Dose at target speed | Under-cure leaves tacky adhesive; over-cure can embrittle | Cure confirmed by adhesion and rub tests | Adjust dose or speed with supplier guidance |
| Registration | Adhesive image to downstream print register | Misregister shows immediately on metallic areas | Stable register through the trial length | Stop, correct and re-approve before continuing |
| First 50-100 metre test run | Transfer quality across the full width | Most defects appear in the first minutes | Clean, complete transfer with no repeats of a defect | Diagnose before consuming more foil |
| Adhesion check | Tape and peel behaviour on production stock | Predicts field failure and converting damage | No lift on the agreed test method | Review adhesive, cure and substrate together |
| Rub and scuff check | Surface resistance after cure and cooling | Protects the job through converting and shipping | Meets the brand's agreed rub standard | Re-check cure, then consider an overprint varnish |
| Final approval sample | Signed sample retained with the job | Removes ambiguity in later reruns | Dated sample stored with the job folder | Do not release the job to full production |
| Documentation | TDS, SDS, COA and setup notes on file | Supports reruns, audits and customer questions | Complete document set archived | Request missing documents from the supplier |
—Starting parameters are not final specifications
Any anilox volume, coat weight, tension setpoint or cure dose quoted in a datasheet, in this article or by a supplier is a starting point for a trial, not a production specification. The values that hold in production are the ones measured on your press with the actual substrate, ink, varnish, adhesive batch, foil grade and running speed. Record the validated numbers on the job sheet and treat any change of substrate supplier, adhesive batch or line speed as a reason to re-verify cure and adhesion.
Substrate and surface preparation
Substrates behave very differently under a metallic transfer. Coated papers and cast-coated labelstock hold the adhesive on the surface, which usually gives crisp edges. Uncoated papers and boards absorb part of the adhesive, so laydown and cure often need adjusting. Films such as BOPP, PE and PP depend on surface energy and treatment level rather than absorbency, and treatment decays in storage.
Check three things on every new stock: coating or treatment level, the age of the material, and any varnish or ink that sits under the decorated area. Inline finishing over a wet-trap ink film behaves differently from decorating bare stock. If the job runs on filmic labelstock, the notes in our guide to cold foil on BOPP labels cover treatment and dyne checks in more detail.
Where a brand approves a design on one stock and later switches supplier or grade, treat it as a new setup. A grade change is the single most common reason a repeat job fails a QC check that passed the first time.
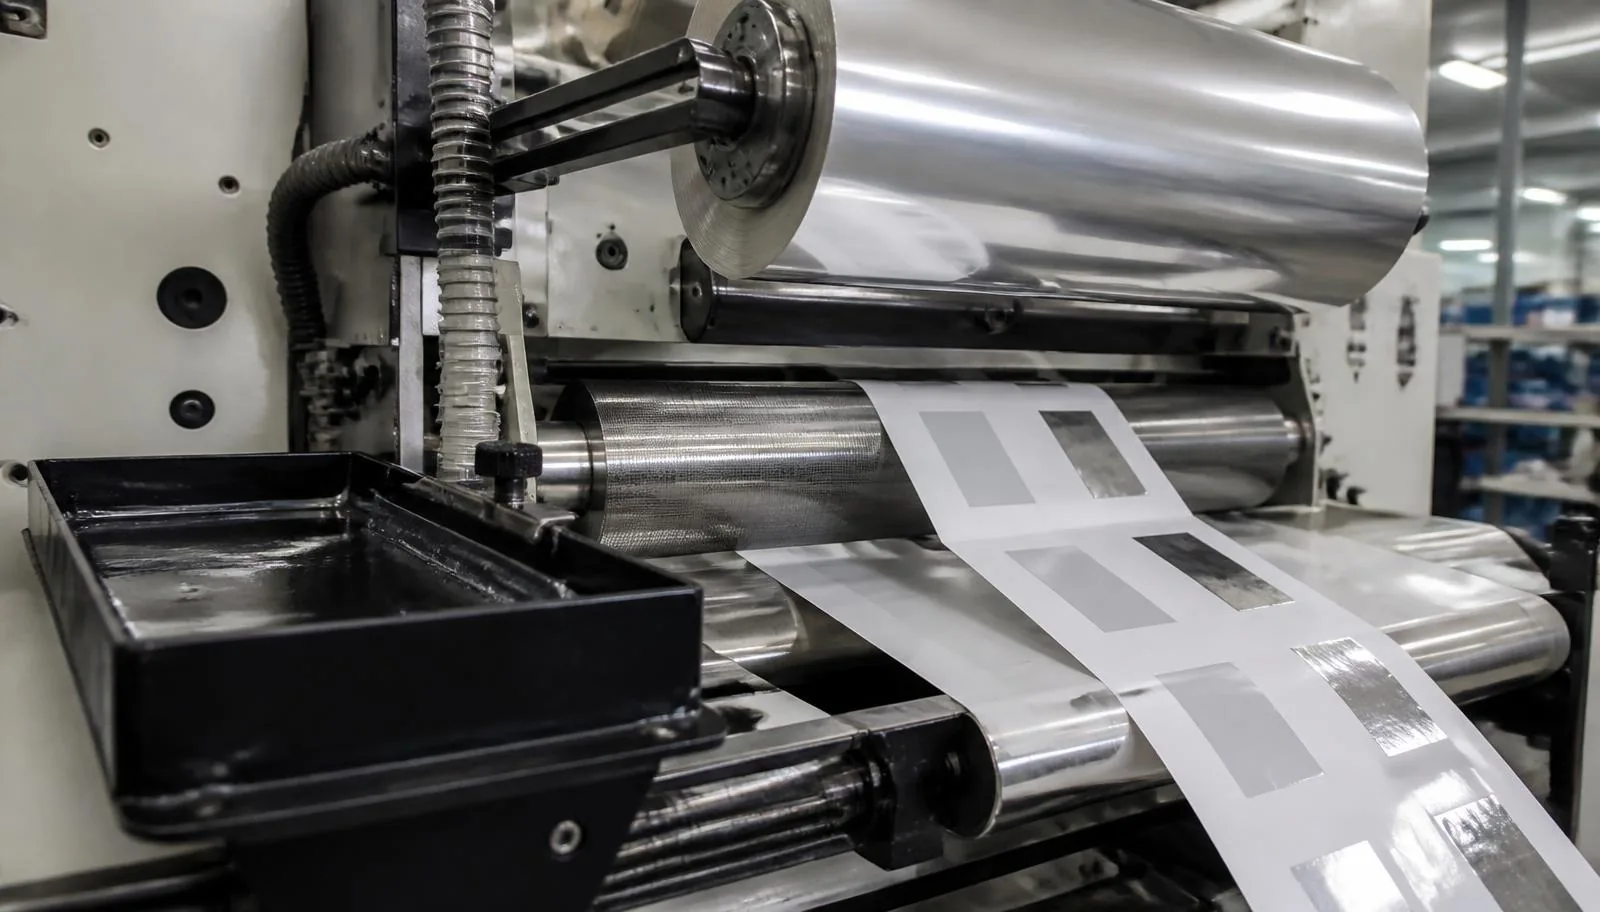
Caption: Anilox and adhesive station check — cell condition and metered volume are inspected before the first foil is threaded. See the UV cold foil adhesive guide for grade selection.
UV adhesive and anilox setup
Transfer quality is decided mostly at the adhesive station. The anilox volume sets how much adhesive reaches the substrate, cell condition decides whether that volume is delivered evenly, and viscosity and press speed change how the film levels before the nip. Cure then locks the result. Too little energy leaves tack and poor rub resistance; too much can make the layer brittle at fold lines.
Work from the supplier's data rather than from memory. Our UV cold foil adhesive setup page explains the variables to record, and the technical datasheets and documentation library holds the grade-specific figures for CFS materials. For an overview of how the stations interact on press, see our cold foil stamping technology page.
“Setup notes: use the adhesive supplier's recommended range; keep anilox and plate condition consistent during testing; and record the exact setup used for approved customer samples so a rerun starts from a known state.
Changing two variables at once is the fastest way to lose a day. Adjust one — anilox, viscosity, speed or dose — and re-run a short strip before moving on.
Foil roll handling and web tension
Rolls should arrive with clean, square edges and no telescoping. Inspect the core, the edges and any splices before threading, and confirm the coated side faces the substrate. A roll threaded the wrong way round produces no release at all, which operators sometimes misdiagnose as an adhesive fault.
Tension is the second recurring problem. Unwind, nip and rewind zones must be balanced at the speed you intend to run, not just at crawl speed. Loose tension causes wrinkles and creases; excessive tension stretches the carrier, narrows the web slightly and shows up as registration drift over a long run. Splices should be flagged so operators expect the short defect that follows.
Storage matters too. Keep rolls upright or suspended, away from heat and direct sunlight, in their original packaging until use — the practical limits are covered in our notes on cold foil storage and shelf life.
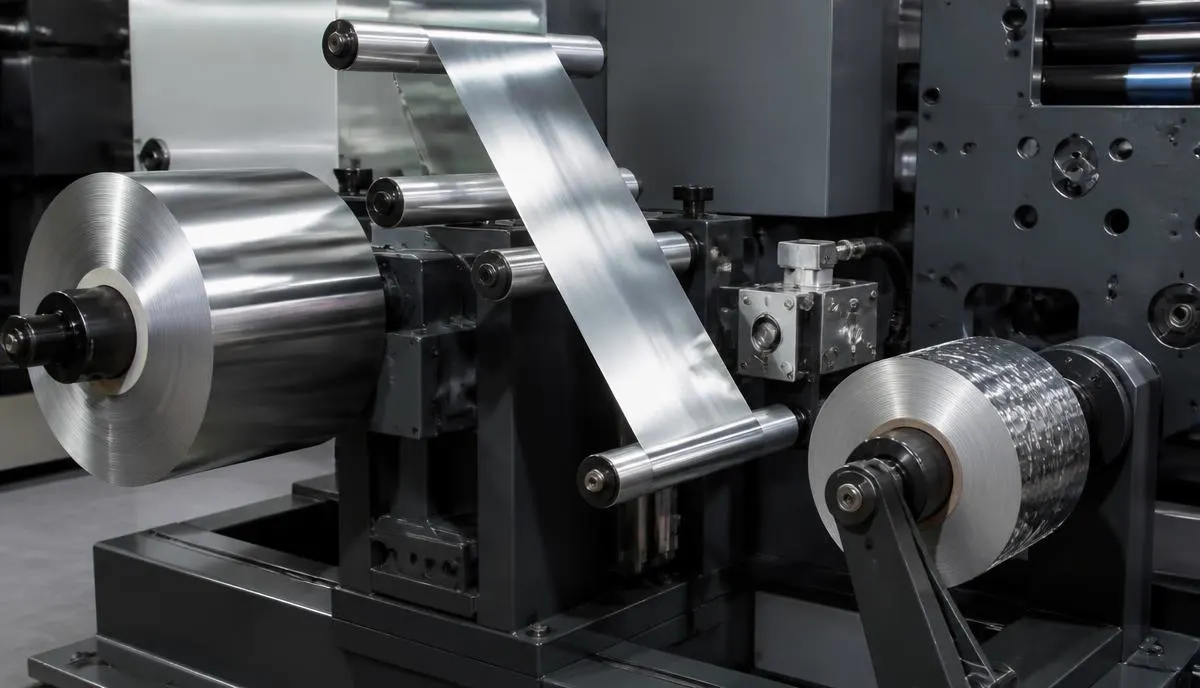
Cold Foil Press Setup Checklist
Print this block or copy it into the job folder. Every line should be signed off before the press runs saleable product.
- Substrate confirmed
- Adhesive confirmed
- Anilox confirmed
- Foil roll width confirmed
- Unwind direction confirmed
- Web tension stable
- UV lamp checked
- Cure verified
- First-run transfer approved
- Adhesion checked
- Rub and scuff checked
- Approval sample archived
- Setup notes recorded
A completed sheet is also the fastest way to answer a customer question three months later, and it makes a rerun a repeat rather than a re-development.
Evidence & sources
CFS field note. When converters send us setup problems, the recurring pattern is that a single variable was changed twice: laydown was raised and speed was reduced in the same test, so the result could not be attributed. The setups that stabilise fastest are the ones where the operator keeps a written trial log, changes one variable per test strip, and re-measures cure whenever the line speed moves.
Technical references.
- Packaging Digest, cold foil transfer application tips — application practice for adhesive, transfer and press variables.
- Leonhard Kurz, cold transfer technology overview — foil construction and transfer requirements.
- CFS technical pages: UV cold foil adhesive, offset cold foil stamping and flexo cold foil stamping.
Practical limitation. A checklist cannot replace a trial. It does not cover press-specific mechanical faults, worn bearings or roller deflection, and it assumes the foil, adhesive and substrate are already a plausible combination. Jobs on untreated film, heavily textured board or unprimed uncoated stock may fail every checkpoint and still transfer poorly, because the substrate itself is the limiting factor.
Buyer takeaway. Before requesting a sample or a quotation, have the substrate grade, press and foil station type, anilox specification, adhesive grade, target speed, artwork coverage and smallest detail written down. Ask the supplier which of those values were validated in a trial and which are catalogue starting points.
Citation-ready summary
Cold foil press setup is a sequence of verifiable checks rather than a fixed recipe. Before production, converters confirm substrate grade and surface treatment, UV adhesive grade and laydown, anilox condition, foil roll width and unwind direction, web tension, nip uniformity, measured UV cure at running speed and registration, then validate the result with transfer, adhesion and rub tests on production stock. Published anilox volumes, tensions and cure doses are trial starting points; production specifications are the values measured on the actual press.
Troubleshooting bridge
If the first run does not pass, move from setup to diagnosis rather than changing foil. Identify the visible symptom in the cold foil defects photo guide, then work through the fault sequence in the cold foil troubleshooting guide. If the defect survives a confirmed cure, correct laydown and stable tension, send samples for review.
Frequently asked questions
What causes poor cold foil transfer during setup? +
The usual causes are insufficient or uneven adhesive laydown, an anilox with blocked or worn cells, incorrect cure energy, unbalanced web tension, uneven nip pressure, a reversed foil roll, or a substrate whose surface energy or coating differs from the one used in trials. Change one variable at a time and re-test on a short strip.
How do I know if the UV adhesive is the problem? +
Isolate it. Run the same foil and substrate with a known-good adhesive setup, or run the suspect adhesive on a substrate that has already transferred cleanly. If transfer improves with the reference setup, the adhesive grade, viscosity, laydown or cure is the variable to correct. Check the datasheet range before adjusting anything on press.
What should be checked before increasing press speed? +
Confirm that tension stays stable, that cure energy still meets the adhesion and rub standard at the higher speed, and that registration holds. Cure dose falls as speed rises, so re-run the adhesion and rub checks at the new speed rather than assuming the earlier result carries over.
Can one cold foil setup work for every substrate? +
No. Coated paper, uncoated paper, board and filmic labelstock differ in absorbency and surface energy, so adhesive laydown and cure usually need adjusting. Treat every new grade, and every supplier change on an existing grade, as a fresh setup with its own trial and approval sample.
When should I request a sample kit before production? +
Request samples whenever the substrate, effect or press configuration is new to you, or when a brand is approving a finish for the first time. Testing shades and transfer behaviour on your own stock before quoting avoids surprises during the production window.
What documents should be requested before approving a cold foil job? +
Ask for the technical datasheet, safety data sheet and, where the customer requires it, a certificate of analysis for the supplied batch. Keep them with the signed approval sample and the recorded press settings so reruns and audits can be answered from one folder.
Need help setting up a cold foil job?
Send your substrate, press type, adhesive, anilox details, foil effect and defect photos. CFS can help review the setup and recommend suitable cold foil samples for testing.