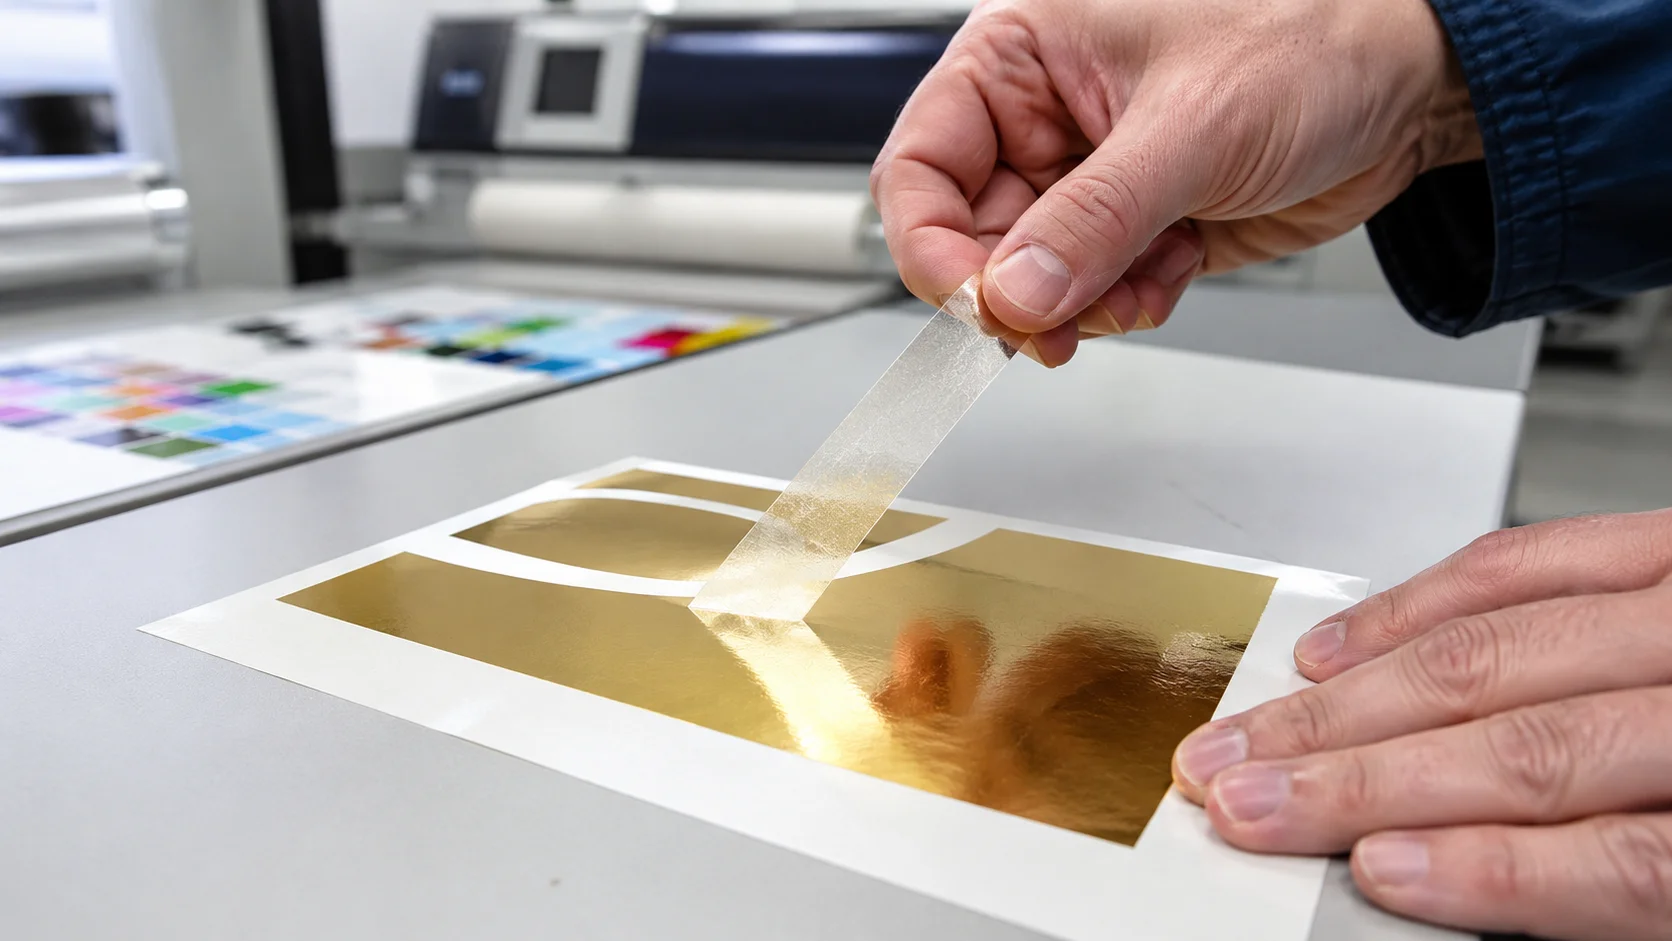
“TL;DR: A cold foil adhesion test for labels checks whether transferred foil remains bonded to the label substrate after tape pull, rub resistance, peel observation and overprint compatibility testing. It should be performed on the actual substrate, adhesive setup and press conditions — not on a generic sample — before mass production. This guide walks label converters, packaging buyers and print engineers through a repeatable 7-step workflow, a material-by-material risk matrix, and the exact information to send when requesting a sample-roll adhesion test.
Why Adhesion Testing Matters Before Cold Foil Production
Cold foil is a UV-adhesive transfer process: the adhesive is printed onto the label, the foil web is nipped against it, UV energy cures the bond, and the carrier PET is peeled away. Anything that disturbs that bond — wrong substrate energy, under-cured adhesive, incompatible overprint varnish — shows up only after the job is on press.
Skipping adhesion testing typically produces one or more of the following defects:
- Pinholing — micro-voids where foil never anchored to the adhesive.
- Ghosting — faint, patchy transfer with unstable edges.
- Poor release — foil lifts from the substrate with the PET carrier.
- Dull finish — the mirror surface is dragged or scuffed during release.
- Overprint failure — CMYK, white ink or varnish delaminates from the foil.
- Customer rejection — foil passes visual QC but fails end-user handling weeks later.
For related defect diagnostics, see our cold foil troubleshooting guide.
Quick Adhesion Test Workflow
Run these seven checks in order on every new substrate, adhesive change, or press configuration. A pass at every step is the minimum bar for mass production sign-off.
| Step | Test | What to Check | Pass Signal | When to Reject |
|---|---|---|---|---|
| 1 | Substrate surface check | Coating, corona/plasma treatment, dyne level, contamination | Uniform, treated, ≥ supplier-recommended dyne | Beading water, oily patches, untreated film |
| 2 | UV adhesive laydown | Coat weight, anilox transfer, edge sharpness | Even film, no missing dots, clean edges | Orange-peel, starvation, bleed |
| 3 | Tape pull test | Foil retention after PSA tape lift | No visible foil transfer to tape | Any foil flakes or edge lift |
| 4 | Rub resistance | Dry + light wet rub, 20–50 strokes | Foil intact, no scuffing haze | Silvering, blackening, foil migration |
| 5 | Peel & release | Edge definition, pinholes, ghosting | Sharp edges, no voids | Jagged edges, dropouts |
| 6 | Overprint compatibility | Ink/varnish adhesion over foil | Ink stays through crosshatch + tape | Ink lifts with tape or scuffs off |
| 7 | 24-hour retention | Retest tape + rub after 24 h post-cure | Identical to fresh result | Delayed adhesion loss |
Test 1 — Substrate and Surface Energy Check
Not every label stock accepts UV cold foil equally. The dominant variables are coating chemistry and surface energy:
- Coated paper (C1S/C2S label stock, wet-strength) — usually the easiest; consistent absorption and smooth topcoat.
- Wine label paper — textured, often uncoated cotton or felt-marked; may require primer or a foil chosen for rough stock.
- BOPP labels — need corona/plasma treatment; see cold foil on BOPP labels for treatment targets and web-handling notes.
- PET labels — high dimensional stability but low surface energy; treatment is mandatory.
- PP film labels — similar to BOPP but softer; watch for shrinkage under UV.
- Wine, cosmetic and pharmaceutical papers — often carry sizing or release additives that suppress adhesion.
Ask your substrate supplier for the current dyne level and surface treatment data rather than assuming a nominal value — face stocks drift lot-to-lot.
Test 2 — UV Adhesive Laydown and Cure Window
The adhesive layer is the single largest driver of cold foil adhesion. Four variables interact:
- 1Coat weight — too thin starves the foil; too heavy squeezes out and contaminates the mirror.
- 2Anilox volume — must match the adhesive viscosity and the target coverage; see anilox roller selection for cold foil.
- 3UV lamp energy (mJ/cm²) — under-cured adhesive stays tacky and fails 24 h retention; over-cured adhesive becomes glassy and rejects the foil.
- 4Lamp geometry and web speed — dose is speed-dependent; adhesion must be re-verified whenever line speed changes by more than ~10 %.
Deeper adhesive specification guidance is on the UV cold foil adhesive page.
Test 3 — Tape Pull Test for Cold Foil Labels
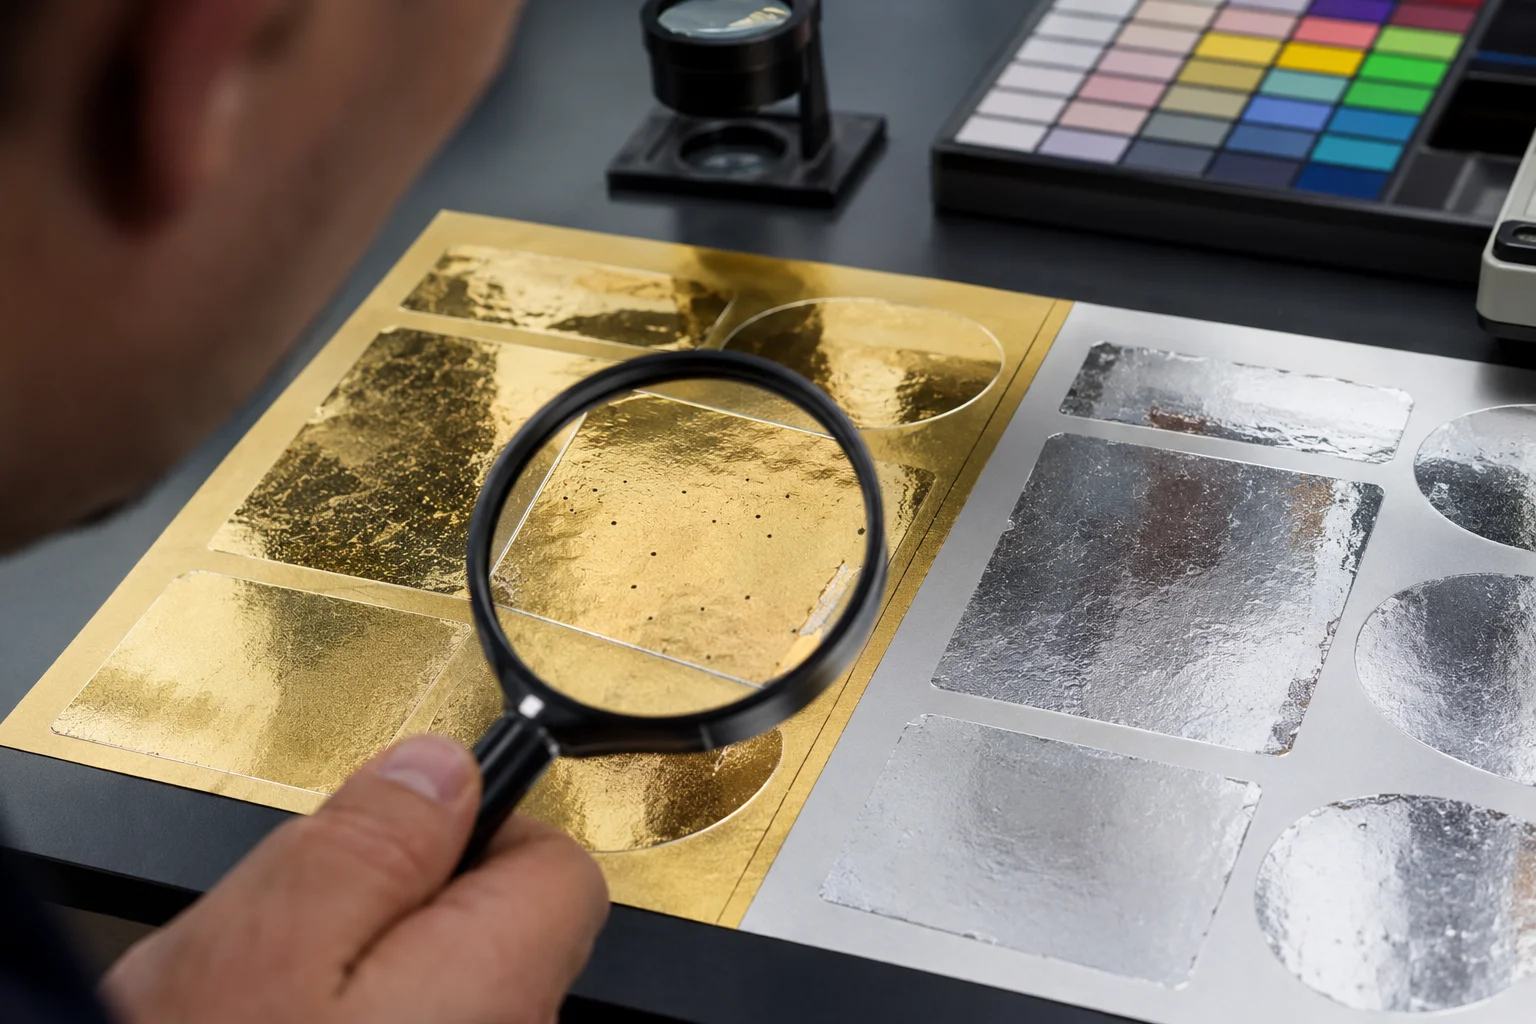
The tape pull is the fastest screening test — not a substitute for a full peel or end-use trial.
Procedure:
- 1Let the printed label reach stable post-cure condition (minimum 10 minutes; ideally 24 h).
- 2Apply a standard pressure-sensitive tape (3M 610 or equivalent) across the foil area.
- 3Press evenly with a 2 kg roller or firm thumb pressure for 10 seconds.
- 4Pull back at a consistent 90° or 180° angle in one smooth motion.
- 5Inspect both the label surface and the tape for foil lift, edge loss, patchy transfer.
Interpretation: any foil visible on the tape is a failure. Edge pickup only (with intact interior foil) suggests a die/anilox edge issue, not adhesive.
Test 4 — Rub Resistance and Handling Check
Cold foil labels endure fingertip handling, roll-to-roll rewind pressure, bottle-line vibration and shipping abrasion. Rub testing simulates that.
- Dry rub — 20–50 strokes with a clean cotton pad; look for silvering.
- Light wet rub — dampened pad; watch for foil migration to the pad.
- Simulated packaging rub — rub two printed labels face-to-face.
- Overprint varnish rub — always re-test after any protective coating is added; a varnish can either protect or plasticize the foil.
Any visible haze, colour change or foil transfer means the surface is unstable for real-world handling.
Test 5 — Peel, Release and Edge Definition Check
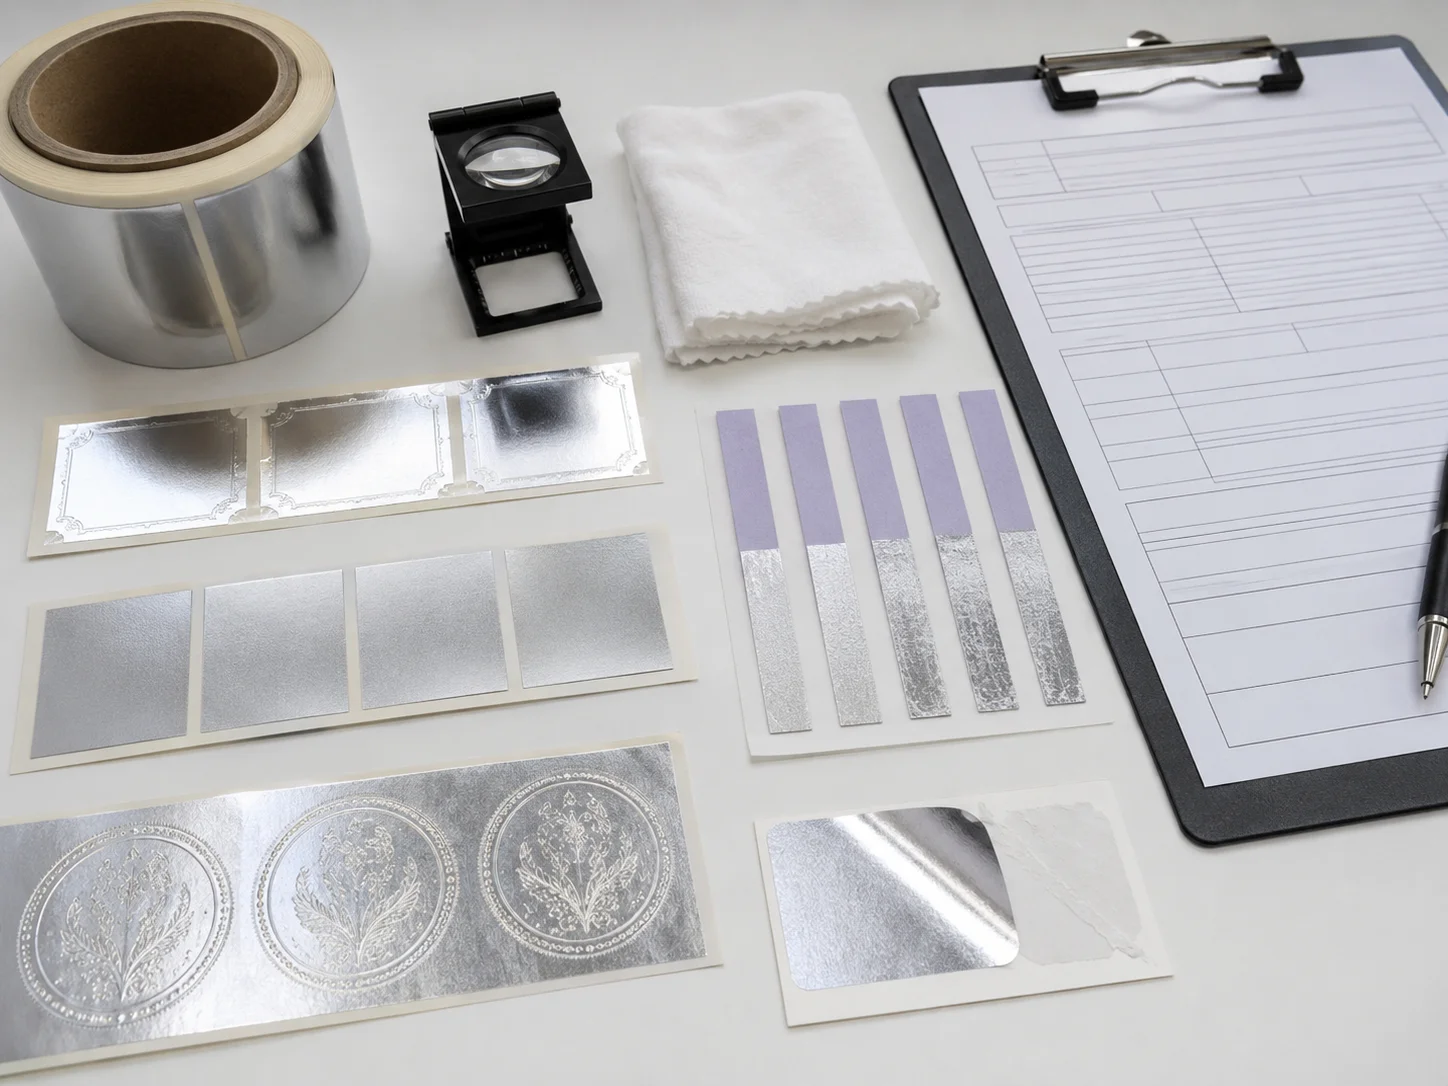
Under 10× magnification, look for:
- Jagged edges — usually adhesive over-transfer or foil web slippage.
- Pinholes — under-cure or contaminated substrate.
- Ghosting — a duplicate faint image adjacent to the main foil; often a release/tension issue.
- Poor release — the PET carrier tears or drags foil off the substrate.
If any of these appear consistently, stop and consult the cold foil troubleshooting guide before running production.
Test 6 — Overprint Compatibility
Most label jobs overprint the cold foil with CMYK, white ink, spot colour, or protective varnish. Each layer is a new adhesion interface.
- CMYK over foil — UV-cationic and UV-cured inks usually adhere well; solvent inks can lift foil. For rainbow and colour-shift effects specifically, see CMYK over cold foil for rainbow effect.
- White ink — high pigment loading can starve adhesion; test opacity vs. adhesion trade-off.
- Varnish / lamination — always run tape + crosshatch on the final laminated construction.
Rule of thumb: the finished label — including every downstream coating — must pass the tape pull, not just the bare foil.
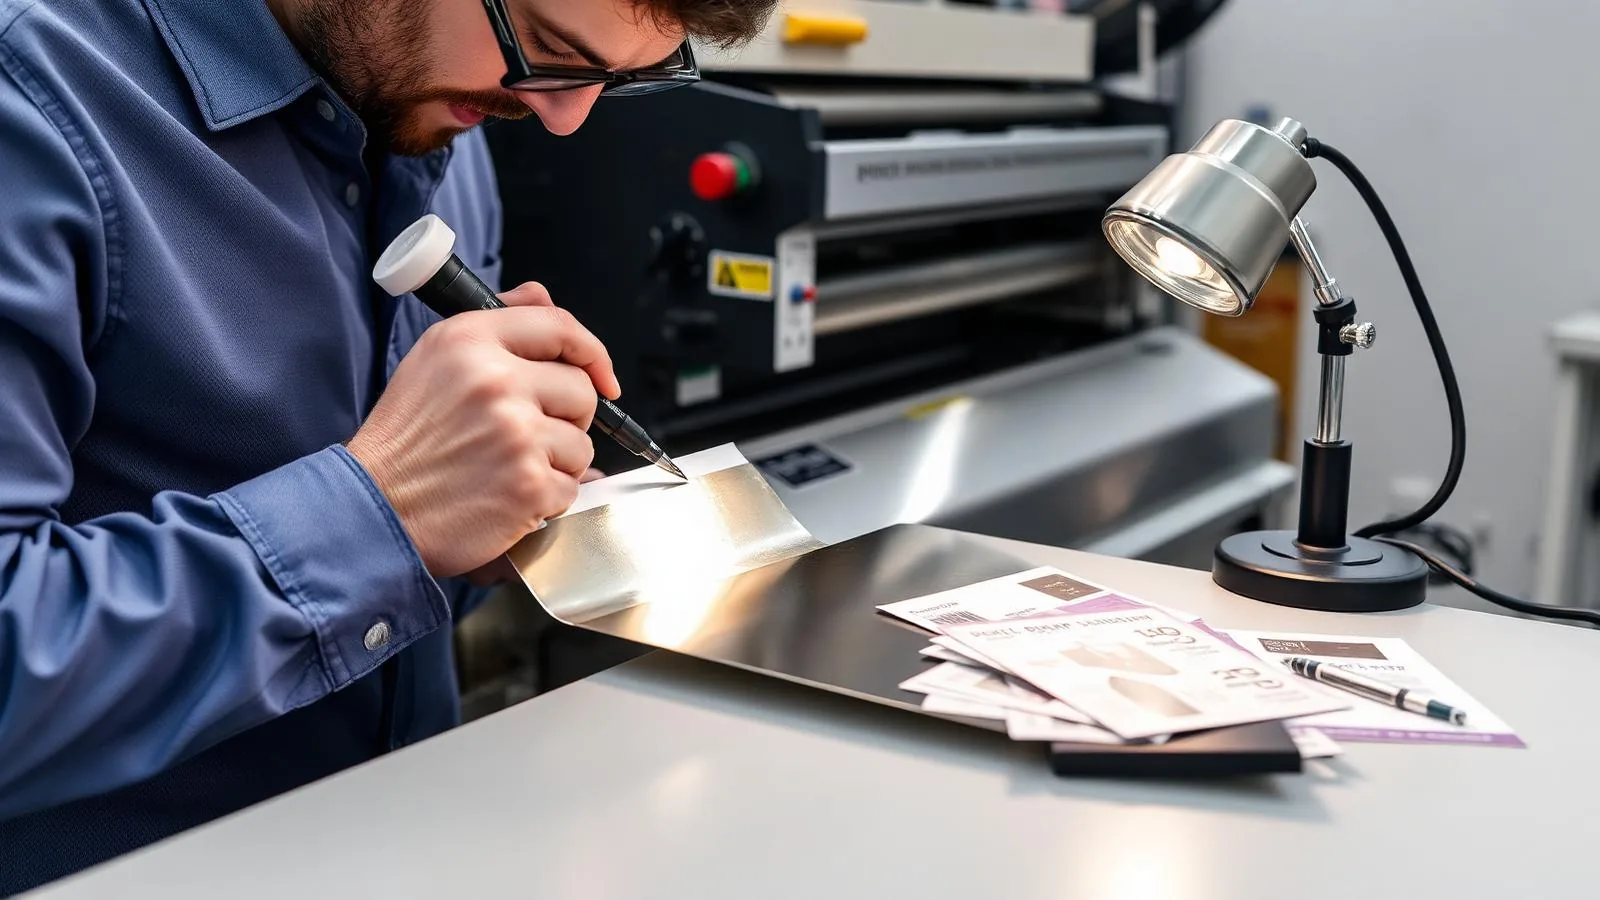
Adhesion Test Matrix by Label Material
| Material | Main Risk | Test Focus | Recommended Next Step |
|---|---|---|---|
| Coated paper labels | Sizing additives | Tape + 24 h retention | Standard adhesive; verify anilox volume |
| Wine label paper | Rough surface, absorbency | Peel edge definition, pinholing | Choose a rough-stock foil grade |
| BOPP labels | Low surface energy | Dyne test, tape, rub | Confirm corona ≥ substrate spec |
| PET labels | Very low surface energy | Dyne, tape, wet rub | Treat + primer if needed |
| PP film labels | Shrinkage under UV | Peel + dimensional check | Reduce UV dose, retest |
| Cosmetic labels | Overprint + varnish stack | Overprint tape + rub | Test the full finished laminate |
| Pharmaceutical labels | Regulatory + handling durability | Full 7-step workflow, 24 h retention | Document results for QA file |
Need to verify cold foil adhesion on your label stock?
Send us your substrate, foil shade target and press setup. Our team can recommend a sample roll and adhesion test path.
Request a Cold Foil Sample Roll →What to Send When Requesting a Cold Foil Adhesion Test
To make the trial repeatable — and to match your production conditions — send the following with your sample request:
- Substrate type (paper / BOPP / PET / PP, gsm or micron)
- Face stock supplier and product code
- Coating or corona treatment information, including current dyne level
- Press type (rotary UV flexo, offset with cold foil module, narrow web, sheet-fed)
- Adhesive system (UV-cationic, UV-radical, brand if known)
- Anilox information (LPI and BCM / cm³/m²)
- Target foil shade (silver, bright gold, rose gold, holographic, etc.)
- Artwork coverage — approximate foil area and finest line/dot
- Overprint or varnish plan (CMYK, white, spot, matte/gloss varnish, lamination)
- Expected run speed (m/min)
- Application industry — wine, cosmetics, pharma, FMCG
Our cold stamping foil quote checklist mirrors this list one-for-one.
When to Request a Sample Roll
A sample roll is the right step when buyers need to test foil release, adhesion, overprintability and shade on the actual production substrate — before committing to a first commercial order. Sample rolls are typically supplied in short lengths matched to your press web width, so you can run a live trial and repeat the 7-step workflow above under real conditions.
Order a matched-lot roll via cold foil sample roll.
Frequently asked questions
FAQ
How do you test cold foil adhesion on labels? +
Test cold foil adhesion by running a repeatable workflow on the actual label substrate: substrate surface check, UV adhesive laydown, tape pull, rub resistance, peel and edge inspection, overprint compatibility, and a 24-hour retention retest. Any single failure means the label is not ready for mass production.
Can a tape test prove cold foil durability? +
No. A tape pull test is a fast screening step, not a full durability proof. It catches obvious adhesion failure but must be combined with rub resistance, overprint compatibility and a 24-hour retention check to represent real handling, shipping and end-use conditions.
Why does cold foil lift after printing? +
Cold foil most often lifts because the UV adhesive is under-cured, the substrate has low surface energy or contamination, the anilox volume is wrong for the adhesive, or an overprint layer is chemically incompatible with the foil surface. Run the 7-step adhesion workflow to isolate which variable is failing.
Does BOPP need different adhesion testing than paper? +
Yes. BOPP and other films require an added surface energy check with a dyne test and confirmed corona or plasma treatment before the tape and rub tests. Paper labels usually pass the substrate check by default but need close attention to coating additives and sizing.
Should cold foil be tested before or after overprinting? +
Both. Test the bare foil first to confirm the base adhesion, then re-test the finished label after all overprint inks, varnish and lamination are applied. The finished construction — not the bare foil — is what ships to the end user.
What information should I send for a cold foil sample test? +
Send substrate type and supplier, coating or corona data, press type, adhesive system, anilox LPI and BCM, target foil shade, artwork coverage, overprint or varnish plan, expected run speed, and the end-use application industry. Complete data lets us match the sample roll to your production conditions on the first trial.
Not sure whether your label stock is ready for cold foil?
Send your substrate details and artwork coverage. We will help you choose the right cold foil roll, UV adhesive direction and test workflow.
Send Substrate for Review →