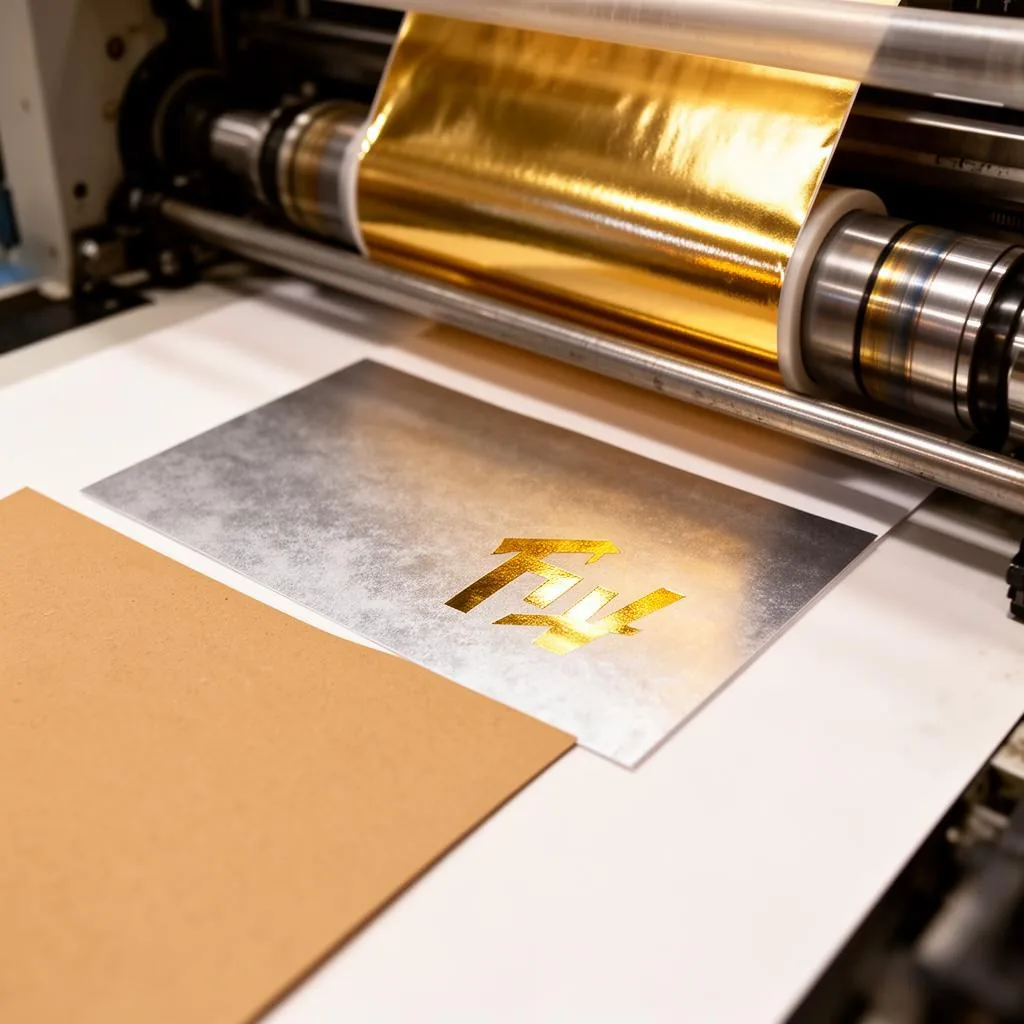
“TL;DR: Cold foil can run on some uncoated papers and boards, but roughness and absorbency make transfer less predictable than on coated stock. Evaluate the paper, consider a primer, and qualify the full combination of substrate, adhesive, foil and press settings in a controlled trial before committing to a design.
Cold foil can be applied to some uncoated papers and boards, but the result is less predictable than on a smooth coated surface. Roughness and absorbency can reduce adhesive holdout and edge definition, so the actual paper, primer, adhesive, foil and press sequence must be tested together.
Designers like uncoated stock because it reads as natural and tactile, and a metallic element on that background has strong visual contrast. The production question is whether the specific paper holds the adhesive film on the surface long enough for clean transfer, and that is a property of the paper, not of cold foil in general.
Can cold foil work on uncoated paper?
Yes, on many grades, with tighter tolerances and more preparation than coated work. Smoother, well-formed uncoated grades with a closed surface generally transfer better than open, bulky or heavily textured papers.
What changes on uncoated stock is the margin for error. Fine lines, small type and delicate screens are the first elements to suffer, while larger, simpler shapes remain achievable. Because grades vary widely between mills and even between batches, no supplier can responsibly promise a result for a paper they have not tested.
Why roughness and absorbency affect transfer
Cold foil transfers where a continuous, still-wet adhesive film sits on the surface at the nip. On an absorbent uncoated sheet, part of the adhesive can sink into the fibre structure, leaving less material available at the interface. Surface roughness compounds this by creating low points that the foil cannot reach at the available nip pressure.
The visible consequences are familiar: broken or grainy solids, soft edges, pinholing in fine detail, and reduced apparent brightness because the metallic layer follows an uneven surface. Increasing adhesive film weight is the obvious response, but it also raises curing demand and can cause squeeze-out around image edges, so it is a trade-off rather than a fix.
How to evaluate the paper before a trial
Start with information the mill already publishes: grammage, bulk, formation, surface treatment, sizing and whether the grade is offset, digital or packaging oriented. Surface roughness and water absorbency are the two properties that correlate most directly with cold foil behaviour.
Two standardised measurements are commonly used in this discussion. Cobb-type water absorptiveness is defined in ISO 535, and print-surf (PPS) roughness is defined in ISO 8791-4. These are useful for comparing candidate papers and for keeping a supplier's batches consistent; they do not provide universal pass/fail thresholds for cold foil, because the outcome also depends on adhesive, foil grade and press conditions.
The practical use of the data is comparative. If a paper that ran acceptably measures within a known range, a candidate paper far outside that range should be treated as higher risk and tested first.
When should a primer or seal coat be tested?
A primer or seal coat is worth testing when the untreated sheet shows adhesive sink-in, weak solids or poor edge definition in a first trial, and when the design depends on detail that the raw surface cannot hold. It works by closing the surface so more of the adhesive stays available at the nip.
Priming adds a unit, a drying or curing demand and a cost, and it changes the appearance of the substrate — often reducing the matte, natural look that motivated the choice of uncoated stock in the first place. It also has to be compatible with the adhesive and foil, so test the whole stack rather than the primer alone. Treat priming as one option to evaluate, not as a guaranteed remedy.
How to run a controlled press trial
A useful trial changes one variable at a time and records everything. Build a test form that contains the elements you actually need: fine lines and type at several weights, small text, a screen ramp, and solid areas at different sizes.
A workable sequence is:
- 1Fix substrate, foil grade and press speed as the baseline condition.
- 2Step adhesive film weight across a defined range and mark each step on the sheet.
- 3Adjust nip settings within the press manufacturer's permitted range and record the effect.
- 4Vary curing energy where the system allows it, noting lamp or LED settings.
- 5Repeat the best condition on a second paper batch to check reproducibility.
- 6Evaluate transfer, edge definition and adhesion consistently, using a defined method such as the one in our cold foil adhesion test method for labels.
Any figures that come out of this exercise are starting points for that job, on that press, with that material — not general specifications. Our cold foil press setup checklist covers the pre-run checks that keep trials comparable.
Artwork choices that improve transfer reliability
Artwork has more influence on uncoated results than most press adjustments. Larger, simpler shapes with generous stroke weights transfer far more reliably than hairlines and small serif type, and reversed-out fine detail is the most fragile element of all.
Where a design needs delicate detail, consider whether the detail must be metallic at all — a printed element next to a bolder foil shape often reads better than a foil element that transfers inconsistently. Building tolerance into the artwork also reduces sensitivity to registration drift and small variations in nip and tension.
Common defects on uncoated stock
The defect patterns are recognisable, and most have several possible causes:
| Symptom | Typical contributing factors | First checks |
|---|---|---|
| Grainy or broken solids | Rough surface, insufficient adhesive at the interface | Adhesive film weight, nip condition, paper roughness |
| Soft or ragged edges | Adhesive spread, absorbency, excess film weight | Reduce film weight, check plate and anilox condition |
| Pinholes in fine detail | Surface voids, low adhesive holdout | Test a primer, revise artwork detail |
| Dull metallic appearance | Uneven surface, foil following the topography | Compare a smoother grade, adjust foil selection |
| Poor adhesion after cure | Under-cure, adhesive-substrate mismatch | Curing energy, adhesive compatibility, adhesion test |
Photographs of each pattern, with the diagnostic sequence, are collected in the cold foil defects photo guide.
When should a buyer choose another finish?
If the design depends on very fine metallic detail on an open, textured sheet, another route may deliver a more consistent result. Options include specifying a smoother grade for the foiled component, restricting foil to bolder elements, using metallic inks or pigment coatings for the fine work, or moving the metallic element to a coated label or panel applied to the uncoated pack.
Hot foil is sometimes suggested for textured stock because pressure can drive the foil into the surface, but it brings its own tooling costs and design constraints. The decision should follow a trial, not a general assumption about which process is better.
Cost drivers rather than generic price percentages
Cost differences between coated and uncoated cold foil work come from identifiable drivers rather than a fixed uplift. The main ones are additional trial and approval time, possible priming with its extra unit and material, higher adhesive consumption, lower running speed where curing is the constraint, and higher waste allowances during qualification.
Ask suppliers to quote against those drivers for your specific job. A quoted percentage that is not tied to substrate, coverage, run length and approval requirements is not a usable planning figure.
Sample qualification checklist
Before approving uncoated cold foil for production, confirm that you have:
- The exact paper — mill, grade, grammage and batch — used in the trial.
- The foil grade and adhesive combination recorded, with press settings noted as job-specific starting points.
- Printed samples covering all critical artwork elements, not just a display motif.
- An adhesion result obtained by a defined, repeatable method.
- A check on downstream processes: varnish, lamination, creasing, folding and die-cutting.
- A second-batch or second-run confirmation of reproducibility.
- Clarity on end-of-life expectations for the finished pack; recyclability depends on the whole construction and local systems, as discussed in is cold foil recyclable.
Frequently asked questions
Does cold foil work on uncoated paper? +
It works on many uncoated grades, but less predictably than on coated stock. Smoother, more closed uncoated surfaces perform better, and the specific paper should always be tested with the intended adhesive, foil and press settings.
Is a primer always required? +
No. A primer is one option to evaluate when a trial shows adhesive sink-in or weak edge definition. It adds cost and changes the appearance of the sheet, so test whether the untreated surface is acceptable first.
Which paper measurements are useful? +
Water absorptiveness by the Cobb method (ISO 535) and print-surf roughness (ISO 8791-4) are useful for comparing candidate papers and monitoring batch consistency. They do not define universal pass/fail limits for cold foil.
What artwork works best on uncoated stock? +
Bolder shapes and generous stroke weights transfer most reliably. Hairlines, small type and fine reversed detail are the elements most likely to break up on a rough or absorbent surface.
Can CFS confirm results for my paper? +
Only through a trial. We can suggest foil grades to test and review samples with you, but transfer quality depends on your paper, adhesive, press and settings together.
Test your stock before you specify
Send the paper you intend to use, the artwork detail level and your press configuration, and request a cold foil sample kit so the trial starts with grades that suit uncoated work.