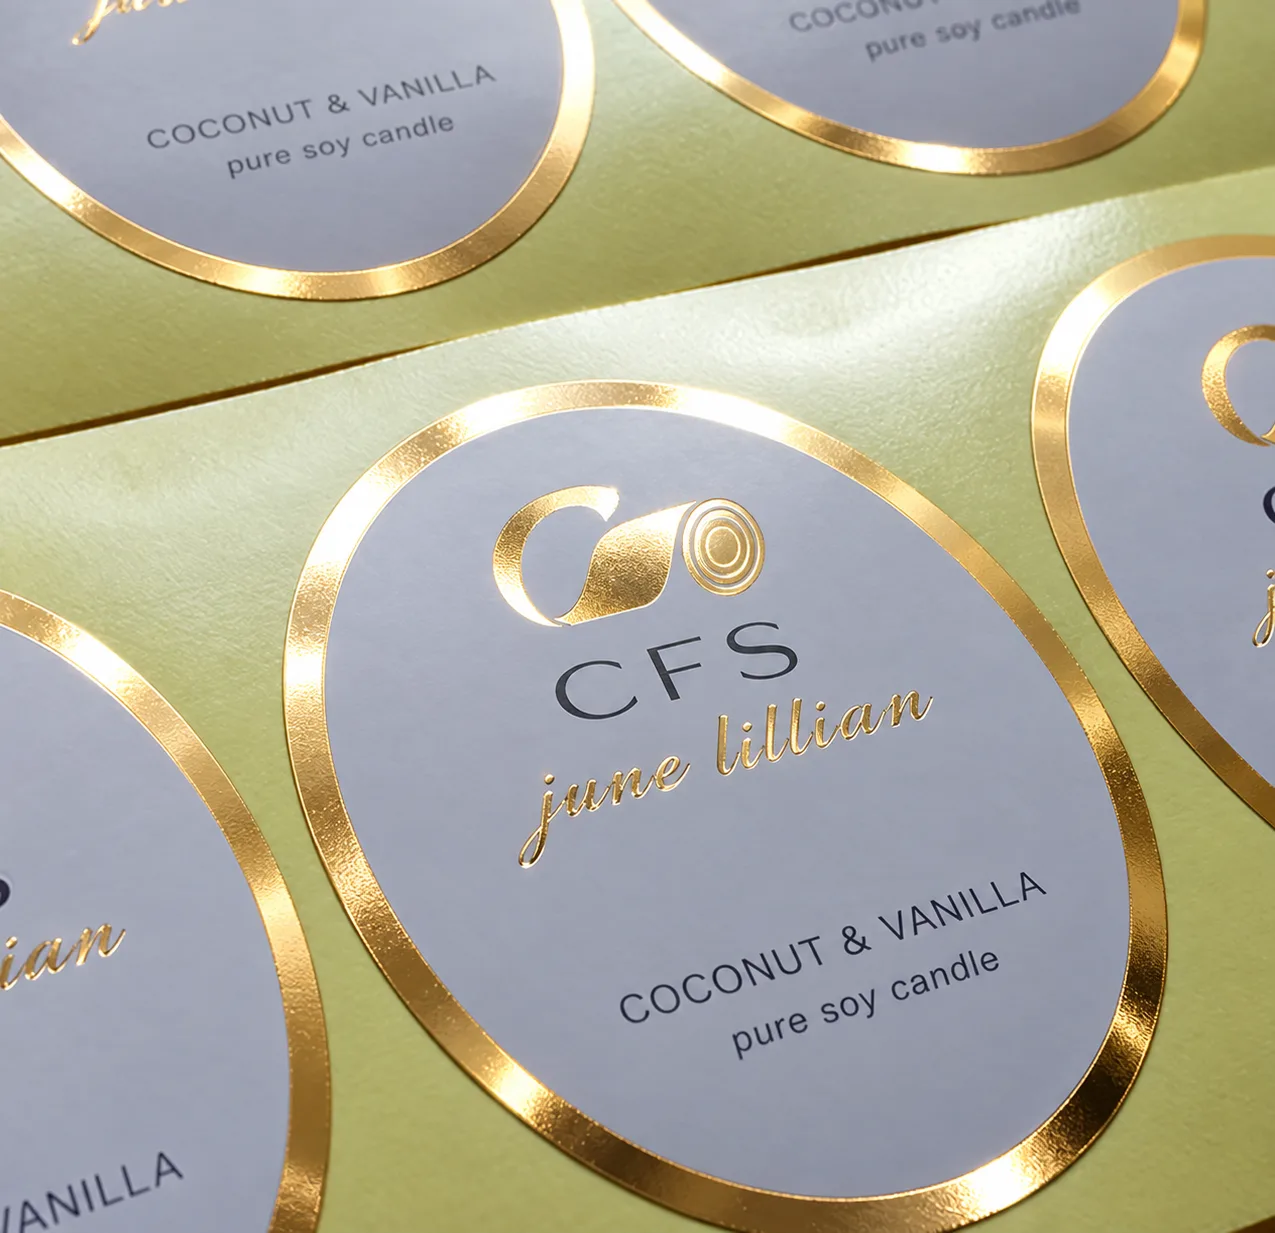
Cold foil can be used on compatible in-mold label films to create selective metallic, tinted-metallic or holographic decoration. The foil is transferred during label printing, before the labels are die-cut and placed in the mold. Approval must therefore cover more than appearance: the completed label must also separate from the stack, feed into the mold, remain positioned and withstand molding and final use.
What does cold foil for in-mold labels mean?
Cold foil for IML means printing the metallic decoration onto the label film before molding. It does not mean placing a cold-foil carrier in the mold or decorating a finished container.
A typical sequence is:
- 1Print the adhesive image on the approved IML film.
- 2Transfer the metallic or holographic layer from its PET carrier.
- 3Cure or set the matched adhesive system and remove the carrier.
- 4Apply the specified inks, white and protective coating.
- 5Die-cut and prepare the labels for automated placement.
- 6Place each label in the mold and form the container behind it.
The In-Mold Decorating Association explains that the prepared film becomes part of the molded product. Cold-foil manufacturers also list IML among possible applications. This establishes feasibility, but it does not prove that every foil, adhesive, film and mold will work together.
When should an IML project use cold foil?
Cold foil is most useful when the artwork needs selective reflective detail rather than a fully metallic label. A compatible silver foil can also be overprinted to create several metallic colors within the same design.
Suitable briefs may include metallic logos on food tubs, reflective panels on personal-care packaging, gold or silver accents on household containers, and holographic brand-authentication features. Cold foil can also coexist with clear, white, matte and gloss areas of the same label.

For a nearly full-label metallic effect, compare cold foil with metallized IML film. For a softer metallic tone, metallic ink may be sufficient. Raised or embossed detail requires another process because cold transfer normally produces a flat decoration.
| Design need | Option to evaluate | Key consideration |
|---|---|---|
| Fine selective metallic graphics | Cold foil | Adhesive defines the image precisely |
| Several tinted metallic colors | Silver cold foil plus overprint | Ink and foil must be compatible |
| Nearly full metallic coverage | Metallized IML film | May simplify a large metallic area |
| Subtle, non-mirror metallic color | Metallic ink | Lower reflectivity but simpler production |
| Raised metallic detail | Specialist alternative | Cold transfer itself is normally flat |
Which film and print construction should be specified?
Begin with the approved IML film and molding route, not the foil color. IML films are engineered both for printing and for becoming part of the molded item; the decorative layers must not interfere with handling or fusion.
Confirm the following with the converter and molder:
- injection molding, blow molding or thermoforming;
- container resin and exact IML film grade;
- printable side and any coating or surface treatment;
- surface-printed or reverse-printed construction;
- resin-contact and consumer-viewing sides;
- sequence of foil, adhesive, inks, white and varnish;
- die-cut and stack format;
- static, vacuum or other mold-placement method;
- product, filling, storage and cleaning conditions.
IMDA notes that the label commonly uses the same or a similar resin to the molded part. Do not substitute ordinary pressure-sensitive BOPP simply because it is also polypropylene-based. Use a grade approved for the actual IML process. For press-side BOPP guidance, see the CFS BOPP label guide.
Can cold foil be reverse printed on clear IML film?
Compatible reverse-print constructions exist, but the layer order must be planned before testing. A design can look correct on the web yet fail if the image is reversed, hidden by opaque white, exposed to abrasion or printed on the surface required for molding.
API Transfer Technologies describes cold-transfer products developed for counter and reverse printing on transparent substrates, including IML applications. That capability depends on a suitable foil, clear adhesive and print sequence; it is not universal.
Create a cross-section showing the viewing side, mold side, resin-contact side, foil and adhesive, process colors, opaque white and varnish. For the optical differences between surface and reverse printing, also review the transparent-label guide.
What information is needed before an IML foil trial?
A useful sample request identifies the complete system. A foil color and artwork file alone are not enough to assess release, adhesion or molding risk.
| Input | What to provide |
|---|---|
| Molding | Injection, blow molding or thermoforming; cavity count |
| Container | Resin family and grade if available |
| IML film | Manufacturer, grade, thickness, finish and data sheet |
| Printing | Process, press, cold-foil unit and adhesive system |
| Construction | Surface/reverse print and full layer sequence |
| Artwork | Metallic coverage, fine detail and formed features |
| Converting | Die-cut method, stack format and label orientation |
| Handling | Static, vacuum or other placement method |
| End use | Product contact, moisture, chemicals and temperature |
The flexo cold foil guide explains the broader press process. Actual settings should come from the selected film, foil, adhesive and press documentation rather than a universal online value.
How should the cold-foil IML trial be run?
Qualify the project in four stages. Passing a visual press test does not prove that the label will convert or mold reliably.
—1. Print and transfer
Run the approved IML film with the proposed foil, adhesive, ink and varnish sequence. Inspect fine detail and solids, then check cure, overprint adhesion and coating compatibility. Record material batches and press conditions so the result can be repeated.
—2. Die-cut and handle
Die-cut the printed labels using the production method. Check dimensions, print-to-cut register, edge condition, curl, blocking and stack separation. Then test the real stack with the intended robot, static charging or vacuum system and record mis-picks, double picks and rotation.
IMDA publishes test categories for label placement, curl, blocking, static behavior and storage. Use the converter's or molder's agreed method and limits rather than inventing a generic pass value.
—3. Mold the decorated labels
Run enough parts to observe start-up and stable production across all cavities. Inspect label position, wrinkles, distortion, resin intrusion, metallic appearance and label-to-container fusion. Keep cavity identification with the samples so a mold or handling issue is not mistaken for a foil defect.
—4. Test the finished package
Evaluate the molded container under its real use conditions. Tests may include filling, cooling, washing, humidity, abrasion, chemicals, transport and storage. Food-contact or migration suitability must be assessed for the complete packaging construction and intended use; a generic foil statement is not sufficient.
What defects should the trial team investigate?
First identify the stage where the defect appears. This prevents the team from changing foil when the actual cause is die-cutting, automation or molding.
| Symptom | First check |
|---|---|
| Pinholes or incomplete metallic solids | Film surface, adhesive laydown, cure, release and contamination |
| Blurred metallic edges | Adhesive image, laydown, nip and register |
| Printed layers pick off in the stack | Cure, coating compatibility, blocking and storage |
| Labels curl or do not separate | Layer balance, web tension, die-cutting and stack preparation |
| Label shifts in the mold | Cut geometry, static/vacuum, tooling and retention |
| Wrinkles or resin gets behind the label | Placement, fit, venting and gate influence |
| Metallic image becomes dull or distorted | Layer orientation, coating, mold surface and local deformation |
| Cracking near a formed radius | Artwork position and flexibility of the print stack |
| Label does not fuse to the part | Film/resin match, orientation and molding window |
For print-stage symptoms, continue with the cold-foil defect guide. Molding-stage failures should be reviewed with both the converter and molder.
Frequently asked questions
—Can cold foil survive injection molding?
It can when the IML film, foil, adhesive, inks, coating and molding process are qualified together. A successful pressure-sensitive label test does not prove molding performance.
—Is cold foil applied before or after molding?
It is applied during label printing, before die-cutting and molding. The PET carrier is removed on the printing line; only the selected decorative layer remains on the label.
—Is cold foil suitable for injection- and blow-molded labels?
It can be evaluated for both, but they are different qualification routes. Use the film, label geometry and trial designed for the actual molding process.
—Are cold-foil IML containers recyclable?
Using a label resin compatible with the container can support recycling. The complete package, including foil, inks and coatings, still requires assessment under the relevant local recycling scheme.
—Is cold foil automatically approved for food packaging?
No. Suitability depends on the contact configuration, migration risk and documentation for every component. The finished packaging must be assessed for its intended market and use.
Request an IML cold-foil trial
Prepare the IML film data sheet, molding route, container resin, print sequence, metallic coverage and end-use tests. CFS can then shortlist trial foil and identify the questions that must be confirmed with the converter and molder.
Request cold-foil samples or send the project specification.
Sources and technical references
- In-Mold Decorating Association: In-Mold 101
- IMDA: Technical Test Guidelines
- YUPO: Enhance Your Packaging with YUPO IML
- UNIVACCO: Metallic Narrow-Web Cold Foil
- API Transfer Technologies: Narrow-Web Metallised Cold Transfer
- KURZ: Cold Transfer FAQ for Web-Fed Flexo
- ITW ShineMark: Cold Foils Basics
- HEIDELBERG: Metallic Effects Achieved with Cold Transfer