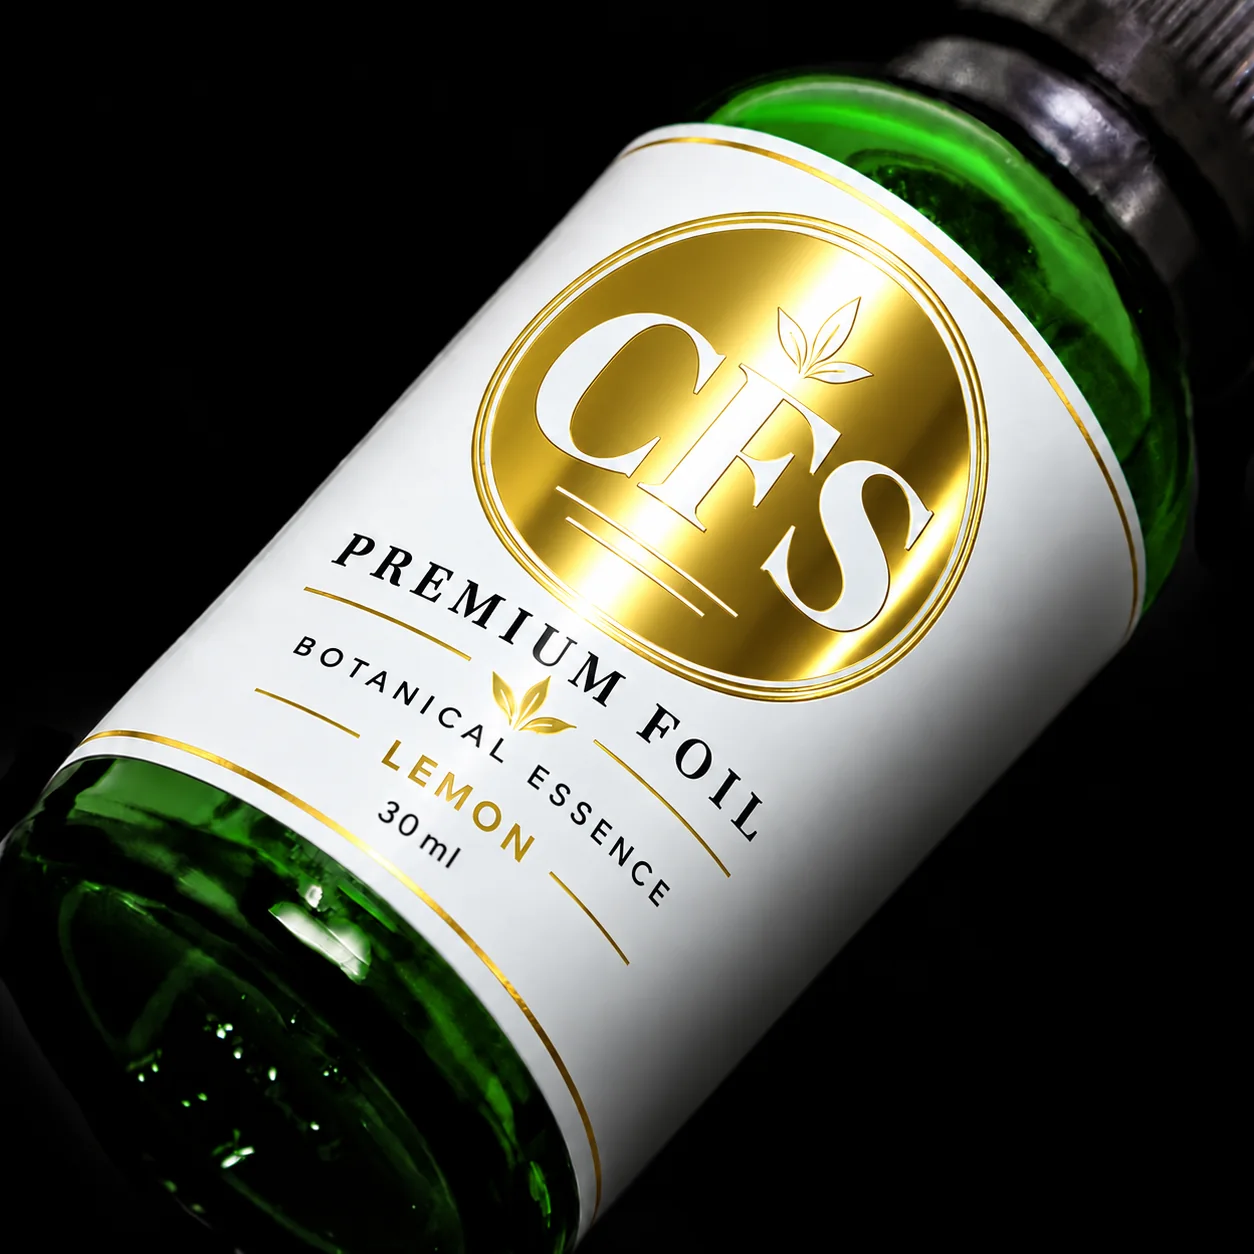
Reverse-print cold foil places the metallic or holographic image on the underside of a transparent film so that the decoration is viewed through the film. The artwork must be mirror-oriented, and the film, clear adhesive, foil grade, inks, white layer and final label construction must be qualified together. A foil that works in surface printing is not automatically suitable for reverse printing.
Reverse printing can protect the decoration from direct handling and create a clean, high-gloss appearance on clear labels, shrink sleeves and selected in-mold label constructions. However, the finished result depends on the viewing direction and complete layer sequence, not simply on choosing a gold, silver or holographic foil.
What is reverse-print cold foil?
Reverse-print cold foil, also called counter-printed or under-surface cold foil in some technical literature, applies a mirror-inverted foil image to the reverse side of a transparent film. The consumer sees the correctly oriented decoration through the film from the opposite side.
The transparent film becomes part of the optical result. Its gloss, haze, color and thickness can change how bright or sharp the metallic area appears. The adhesive and any inks or coatings between the foil and viewing side can also influence clarity.
API Transfer Technologies describes narrow-web cold-transfer systems for counter and reverse-print applications in which the transfer product is applied mirror-inverted to a transparent substrate using a clear adhesive. This is a specialized construction, not a universal capability of every cold foil.
When should you use reverse printing?
Reverse printing is useful when the packaging design requires the metallic image to be viewed through a clear film rather than sitting on the exposed surface.
Typical applications include:
- clear pressure-sensitive labels for glass or plastic containers;
- no-label-look cosmetics and personal-care labels;
- transparent beverage labels;
- reverse-printed shrink sleeves;
- selected in-mold label constructions;
- labels viewed through a transparent container or clear product;
- security designs using metallic and transparent holographic layers.
The main benefit is physical protection. When the construction places the decoration behind the film, the film can shield the printed image from direct abrasion and handling.
Reverse printing does not automatically make the complete label resistant to chemicals, moisture, filling conditions or shrink-tunnel heat. Those properties still require finished-package testing.
Surface print, reverse print or double-sided effect?
| Construction | Where the decoration is applied | Main viewing direction | What must be approved |
|---|---|---|---|
| Surface-printed cold foil | Outside surface of the label film | From outside the container | Metallic appearance, abrasion resistance and protective coating |
| Reverse-printed cold foil | Underside of transparent film | Through the film | Mirror orientation, clarity, layer order and adhesive compatibility |
| Double-sided-effect cold foil | Construction designed to present an intentional effect from two sides | Outside and through the container | Appearance from both directions on the assembled package |
| Transparent holographic foil | Transparent diffractive effect rather than opaque metallic coverage | Depends on construction | Visibility of underlying print, diffraction and readability |
Reverse printing describes where and in which orientation the image is printed. Transparent holographic foil describes an optical effect. A reverse-printed metallic foil does not necessarily look equally bright from both sides, and a transparent holographic foil is not automatically a reverse-print product.
If both viewing directions matter, request a grade and construction intended for that purpose. Do not approve the reverse view of an ordinary surface-print sample and assume production will match it.
How should the layer order be planned?
Begin with a cross-section drawing of the finished label or sleeve. Mark:
- 1the consumer viewing side;
- 2the transparent film and its printable side;
- 3the cold-foil adhesive image;
- 4the transferred metallic or holographic layer;
- 5process and spot-color inks;
- 6opaque white or masking layers;
- 7varnish or protective coating;
- 8pressure-sensitive adhesive, sleeve interior or mold-contact side;
- 9the container and product behind the decoration.
For a reverse-print construction, text, logos and directional graphics normally need mirror-oriented artwork so they read correctly through the film. The exact sequence of foil, ink and white depends on the selected foil system and intended appearance.
- 1Consumer viewing side
- 2Transparent film
- 3Reverse-oriented cold-foil and print construction
- 4White or masking layer where required
- 5Label adhesive or container side
Do not approve the layer order from a flat PDF alone. Request a simple visual cross-section and a physical mock-up showing the label on the real container.
A metallic image that looks correct on a light table may change when placed over colored glass, clear liquid, an air gap or a curved plastic surface.
Which film, adhesive and foil should be specified?
—Transparent film
Identify the exact film manufacturer, grade, thickness, surface treatment and printable side. "Clear BOPP" or "clear PET" is not enough for a production trial.
Confirm whether the material is:
- a pressure-sensitive label face film;
- a shrink-sleeve film;
- an unsupported film;
- an in-mold label grade;
- treated or coated for the intended printing side.
For film behavior during printing and converting, see the flexible-film guide. For mold-side constructions, see the cold foil for IML guide.
—Clear adhesive
The adhesive must transfer the foil and remain optically acceptable when viewed through the film. Excess haze, contamination, uneven laydown or incompatibility with the film can reduce metallic brightness and damage the no-label look.
Record the adhesive product, batch, metering system, curing system and press conditions used during the trial.
Do not publish or copy a universal anilox, pressure, speed or UV-energy value without documentation for the actual material system.
—Reverse-print-compatible foil
Ask the foil supplier to confirm that the proposed grade is intended for the selected reverse-print construction.
Confirm:
- viewing side;
- required metallic or holographic effect;
- surface or reverse application;
- whether both sides must look metallic;
- compatibility with the clear adhesive;
- compatibility with subsequent inks and white;
- suitability for the converting process;
- end-use resistance requirements.
A standard surface-print foil should not automatically be substituted for a reverse-print grade.
What should prepress check?
Reverse-print cold foil requires more than flipping the complete artwork file.
Prepress should confirm:
- which elements are viewed through the film;
- which elements remain surface printed;
- which separations require mirror orientation;
- the dedicated adhesive/foil plate separation;
- trapping between foil, colors and opaque white;
- knockout areas required for transparency;
- barcode and QR-code contrast;
- fine reverse type and small gaps;
- distortion for shrink sleeves;
- container curvature and artwork position;
- registration targets visible during the trial.
Keep mandatory information outside visually aggressive holographic or highly reflective areas unless scanning and readability are confirmed on the finished package.
How should a reverse-print cold foil trial be run?
—1. Approve the construction drawing
Confirm the viewing direction and layer order with the brand owner, converter, foil supplier and label-material supplier. Resolve mirror orientation before plates are produced.
—2. Run a controlled press trial
Use the specified film, foil, adhesive, inks, white and coating. Record material batches and relevant press settings so the result can be repeated. The flexo cold foil stamping guide covers the press-side transfer process this trial builds on.
Inspect fine detail, solid coverage, edge definition, pinholes, cure and release. Evaluate the image through the film, not only from the printed side.
—3. Test the remaining print sequence
Apply the planned process colors, spot colors and opaque white. Check whether the reverse-view color and metallic tone match the approved design.
Confirm ink adhesion over or next to the foil using the agreed production test. The CFS adhesion-test guide describes a practical method; acceptance limits must be agreed for the actual job.
—4. Convert the label or sleeve
Complete the real downstream process:
- laminate or re-laminate where required;
- apply the pressure-sensitive adhesive construction;
- die-cut and matrix-strip labels;
- slit, seam and form shrink sleeves;
- prepare IML labels for placement and molding.
A successful foil transfer does not prove that the construction will convert reliably.
For sleeve-specific artwork placement, seaming and post-shrink checks, use the shrink-sleeve cold foil specification guide.
—5. Apply it to the actual container
Inspect the finished label or sleeve on the intended glass or plastic container, with representative contents where appearance through the product matters.
Check the design under normal retail lighting and from every required viewing direction.
—6. Test the finished package
Select tests from the actual end use, such as handling, abrasion, moisture, refrigeration, chemicals, filling, transport, storage or shrink-tunnel exposure.
Record the accepted physical sample with its material and press data.
Reverse-print cold foil troubleshooting
| Symptom | First checks | Confirmation step |
|---|---|---|
| Metallic area looks dull through the film | Film haze, viewing side, adhesive clarity and foil orientation | Compare through-film and printed-side views against the approved construction |
| Text reads backward | Artwork or foil separation was not mirror-oriented correctly | Verify the viewing direction and plate file |
| Metallic shade changes on the container | Container color, product color, air gap and curved surface | Test on the actual filled or representative package |
| Cloudy no-label-look area | Film, adhesive, coating haze or contamination | Compare unprinted film, adhesive-only and complete construction samples |
| Foil lifts during overprinting | Foil/ink compatibility, cure and contamination | Repeat adhesion checks after the full print sequence |
| Pinholes appear in metallic solids | Film surface, adhesive laydown, cure, contact and cleanliness | Run controlled samples changing one documented variable at a time |
| Two viewing sides do not match | One-sided foil effect or unsuitable layer order | Evaluate a grade intended for the required double-sided effect |
| Shrink sleeve cracks or distorts | Foil flexibility, artwork position, shrink behavior and tunnel conditions | Run the complete seaming and shrink-tunnel trial |
| Barcode or small text becomes difficult to read | Reflective background, insufficient contrast or distortion | Scan and inspect the finished applied package |
For a wider symptom-by-symptom reference, see the cold foil defects guide.
What should you send with a sample request?
A useful reverse-print cold foil request should include:
- film manufacturer and exact grade;
- film thickness and printable side;
- pressure-sensitive, shrink-sleeve or IML construction;
- container material, color and shape;
- consumer viewing direction;
- a layer-order drawing;
- foil color or holographic effect;
- whether one or two viewing sides matter;
- adhesive system and press configuration;
- ink, white and coating sequence;
- metallic coverage and smallest important detail;
- artwork file with foil separation;
- end-use and resistance requirements;
- planned converting and application process.
A generic gold or silver swatch cannot qualify the finished construction. Use it only to shortlist effects before testing the actual film and package.
Frequently asked questions
Does ordinary cold foil work for reverse printing? +
Not automatically. The foil, clear adhesive, film and print sequence must be intended for the reverse-view construction. Confirm the grade with the supplier and approve it through the real film.
Does reverse printing always require double-sided cold foil? +
No. Double-sided effect is needed only when the metallic appearance must be intentionally visible from two directions. A single reverse viewing direction may use a different construction.
Is reverse-print cold foil the same as transparent holographic foil? +
No. Reverse printing describes image orientation and the side of the film being decorated. Transparent holographic foil describes an optical effect that allows underlying print to remain visible.
Can reverse-print cold foil be used on shrink sleeves? +
It can be evaluated on compatible films and systems, but the finished sleeve must pass printing, seaming, application and shrink-tunnel trials. A pressure-sensitive clear-label result does not qualify a shrink sleeve.
Does the clear film protect the metallic image? +
It can protect a decoration positioned behind the film from direct abrasion. It does not automatically prove resistance to chemicals, filling conditions, moisture, heat or the complete package lifecycle.
Sources and technical references
- API Transfer Technologies: Metallised Narrow-Web Cold Transfer
- Labels & Labeling: Reverse-side printing and multilayer constructions
- Labels & Labeling: Product decoration technologies - sleeving
- Labels & Labeling: Printing technologies and inks for shrink sleeves
- KURZ: Cold Transfer FAQ for Web-Fed Flexo
- UNIVACCO: Reverse-side cold foil anti-counterfeit application